

So the plan is to cut these fins in half, and do a little more milling, but this is the test first piece to see what I think.
I like it, I want to shave some more off it, but it's getting close to what I have in mind. Pardon the crumby cellphone pics, these I took at my desk at work.
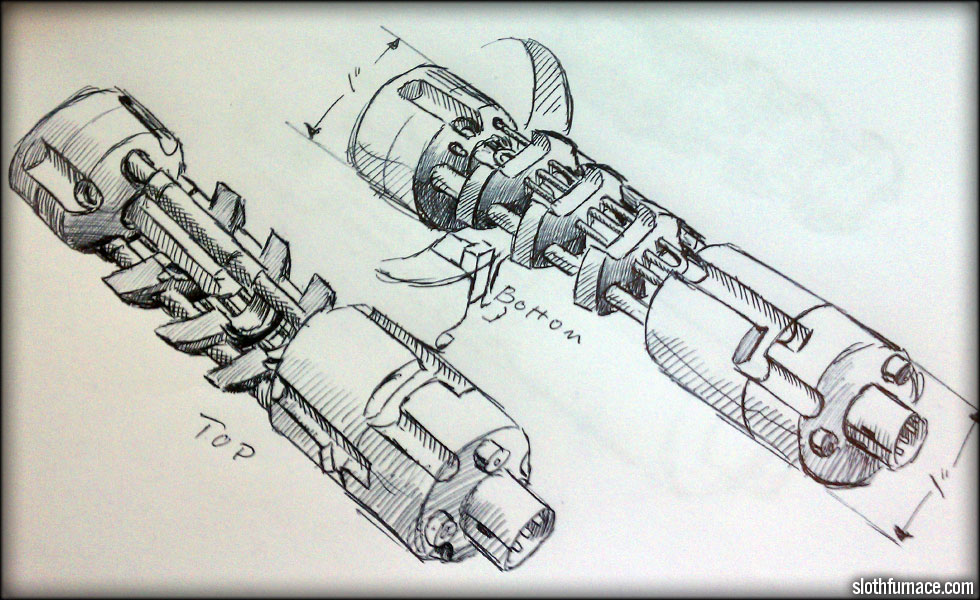
Here's the plan, I hope I have illustrated it correctly, it's kind of hard to draw these compound curves and such.

Here are all of the fins cut across the middle.

The bottom cutouts didn't turn out too bad. I need to drill my radiator pipe holes just above these next.

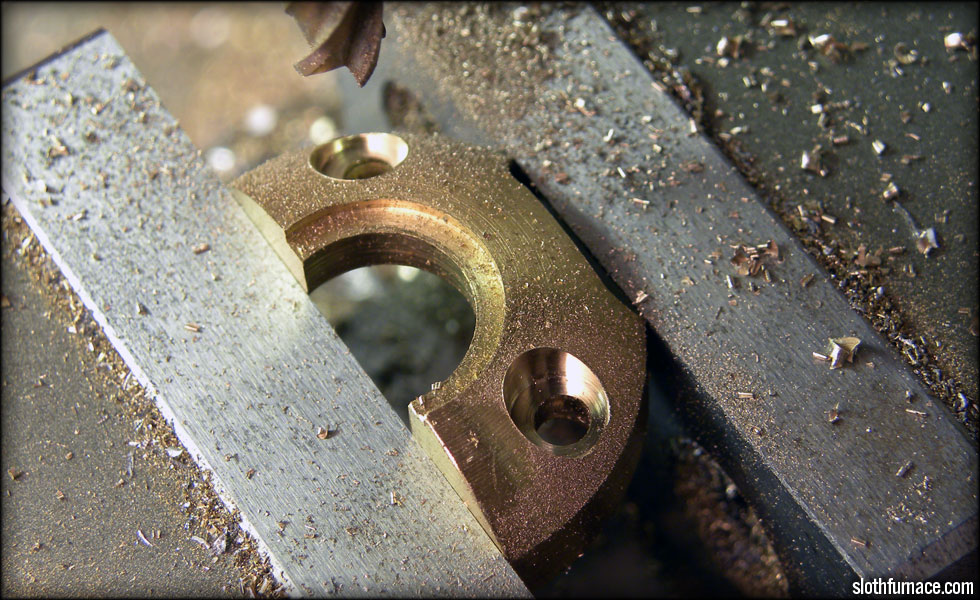
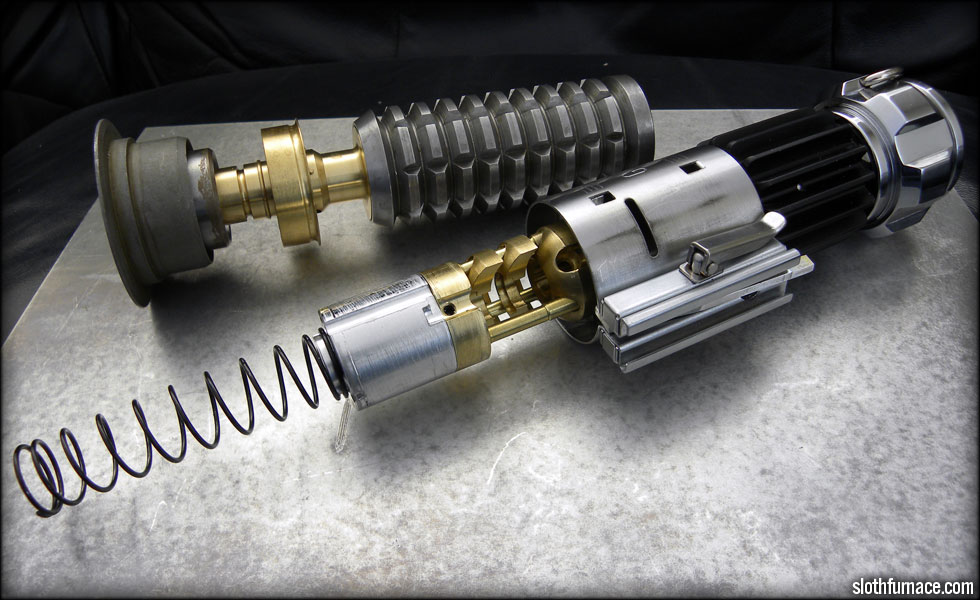
I need to machine out my spacers, they will be the next pieces I need to make.

I still need to mill flats in the other two plates, so my spacers will seat properly, and everything will stay straight once assembled.

A quick sketch of the top of the crystal chamber as intended...
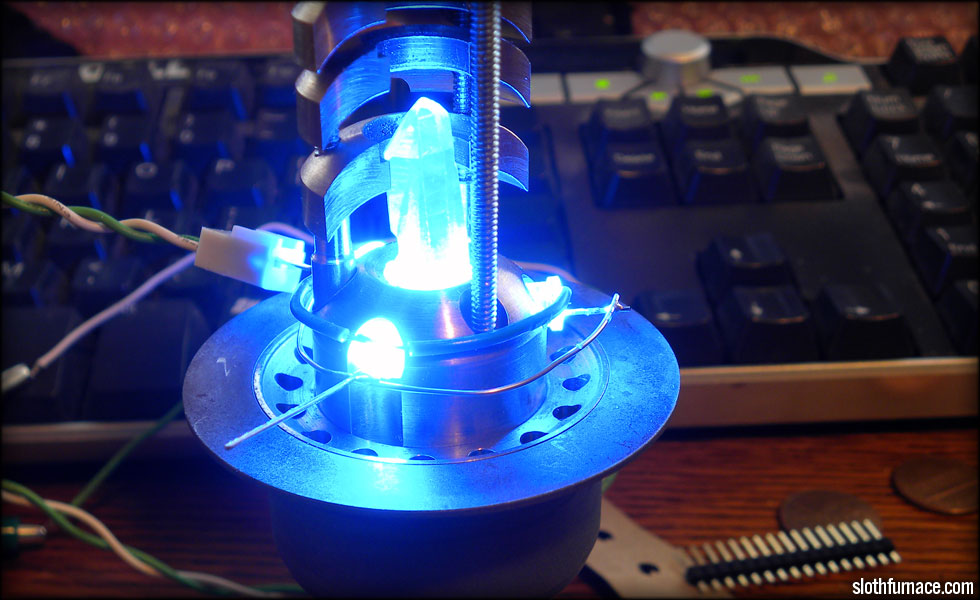
I couldn't resist testing out my LEDs for the chamber and blade, a temporary hookup and a quick test at low voltage...

I think it's going to work well.
At this point I had cut a hole in the side of the Graflex clamp for the recharge port, and needed to replace the stock nut that came with it with a custom nut that was threaded for the recharge port, but replicated the "transistor washer/heatsink" thing that was on the original prop. Here I have a half inch section of aluminum drilled and threaded for the recharge port.
And after parting off and cleaning it up a bit, I have a valid transistor washer piece that holds my recharge port. I will fabricate a transistor kill plug like I did with my first Obi saber.
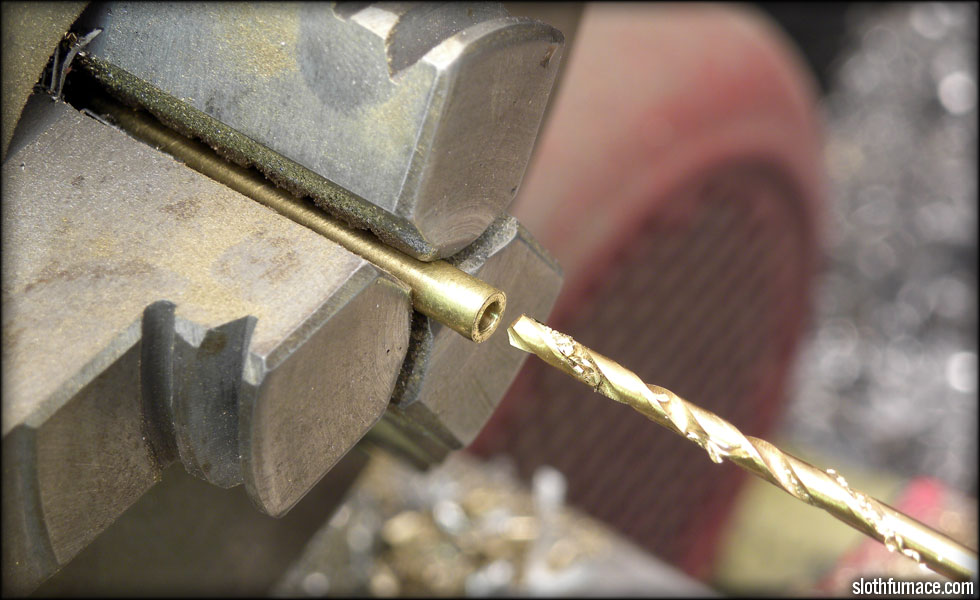
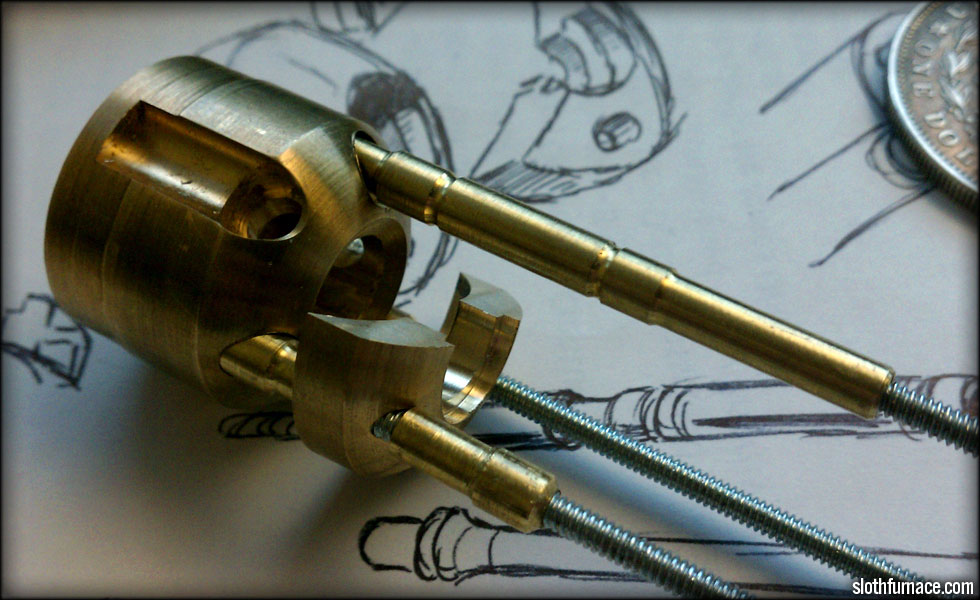
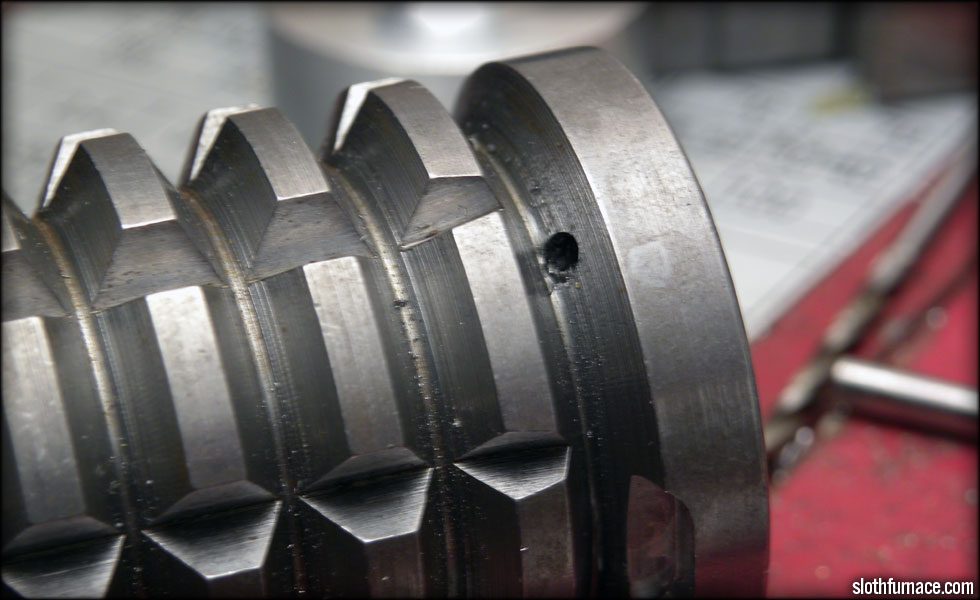
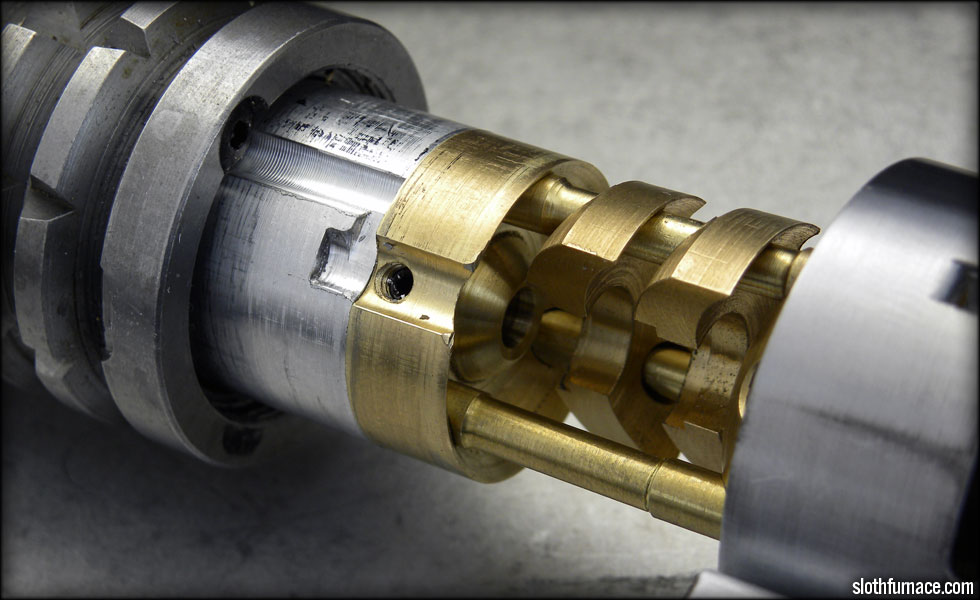
Here I am drilling out some small brass rod so I can thread it for 4-40 so I can use it as my support rod collars/dome fin spacers.
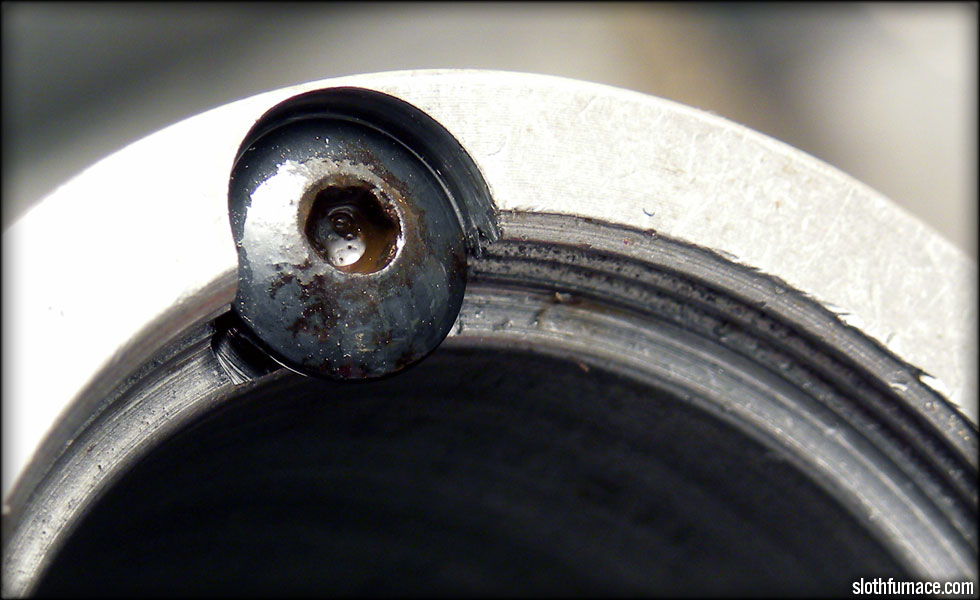
And these are the holes those spacers will interlock with on the domed fins.

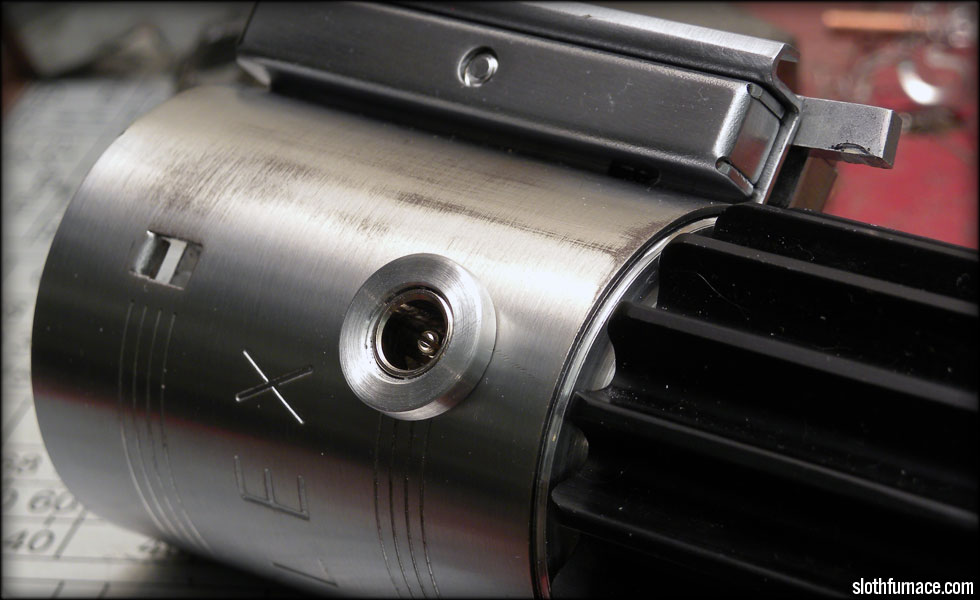
Tonight, I spent a few hours getting this cut right. This is the cut out for my slide stop cap screw. This was one I sweated over, because it had to be far enough towards the center to let the screw overhang enough to stop the slide from flying off, yet far enough away from the inner wall of the grenade so that the threads wouldn't exceed the inner wall.

Also the screw head couldn't exceed the outer wall of the grenade. I think I got pretty close. Now to do it two more times. Although I think in tests, this single screw is strong enough to stop the action.
I don't know where I got these tiny 6-32 screws, but they're just short enough not to have to drill into the next line of grenade ribs after the first one, and still be able to be threaded in there.
I did have to grind off the tip of my 6-32 tap to make it short enough to work in such confined space. Once this is assembled, weathered, etc. The hole won't be visible, also it will be covered by the graflex clamp to some extent.
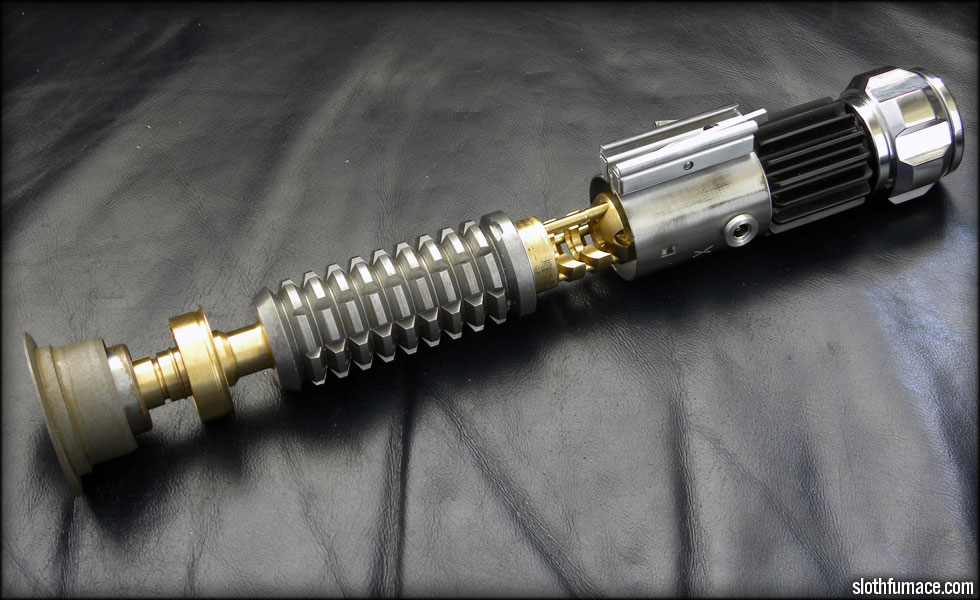
Today I took care of a lot of little issues. I stabilized and shimmed the pommel to the booster section, shortened my crystal chamber so it would leave enough room for the DIN plugs and spring in the top, evened up my spacers between the domed fins, secured the chamber base to the main can under the clamp.
I also cut my quick detach groove into the top section of my crystal chamber. I need to get over to Fry's for some DIN connectors, and I'll be able to finish that. I was also finally able to test my latch, when it is pressed the chamber pops open like it should. I had to lock down the chamber base with another setscrew to secure it, but it's working fine now.
This site is part of the nonentity network. Not associated with LUCASFILM LTD.™ or any LFL Ltd.™ Film or Franchise.