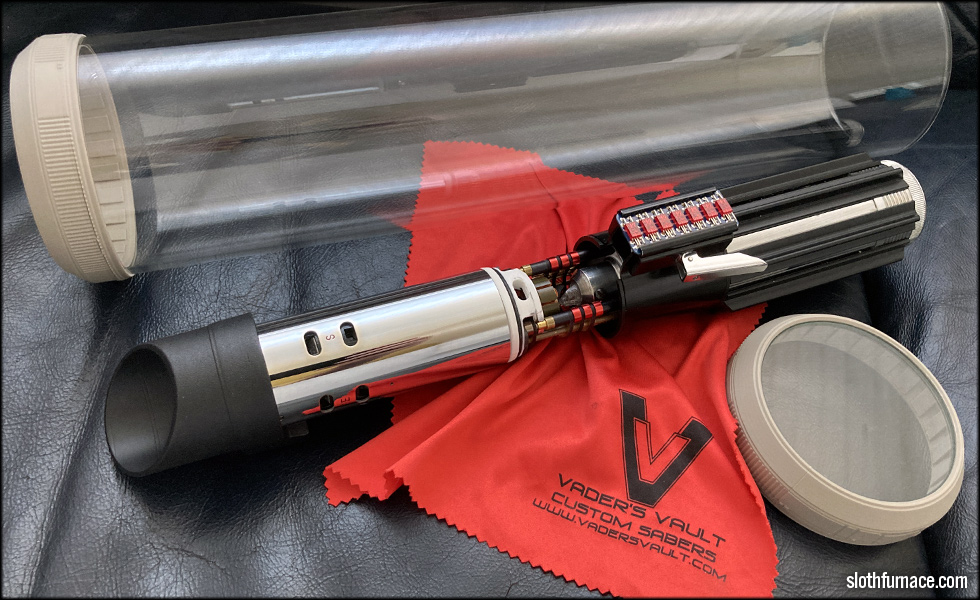
Specs: Roman's Props MPP replica, Todd's Costumes grips, Slothfurnace ANH Vader V2 A Clamp board with 1975 era vintage LED modules.
Glass tube of unknown origin, 3D Printed parts, Arduino Uno, ArduiNIX Nixie tube driver shield, Sperry Panaplex, vintage Radio Shack LEDs

This project started off as a desire to protect myVader V2 epic reveal build from curious fingers at an upcoming prop party. I had this glass tube and once I polished it up with my nifty Vader's Vault lens cloth, I printed up a couple of end caps and set them with glass discs.

However, it didn't stop there, as I recently discovered finally how to light up, drive and animate a Sperry Panaplex display, the same sort of display the prop department used on the Han in Carbonite control panel in Empire Strikes Back.
That being the inspiration, I designed a housing and stand that fit both inside the glass and outside, matching the curve of the glass, and using magnets inset into the 3D printed parts to keep them aligned inside the glass tube.
I realized I had a problem to solve, I didn't want my grips to flare out at the end over the battery cap once I had them glued down. I thought for days about how to solve this. I considered fabricating some kind of elaborate jig to hold the grips while I either milled or cut somehow the grips either one at a time or all at once. Every idea I had was way too complicated.


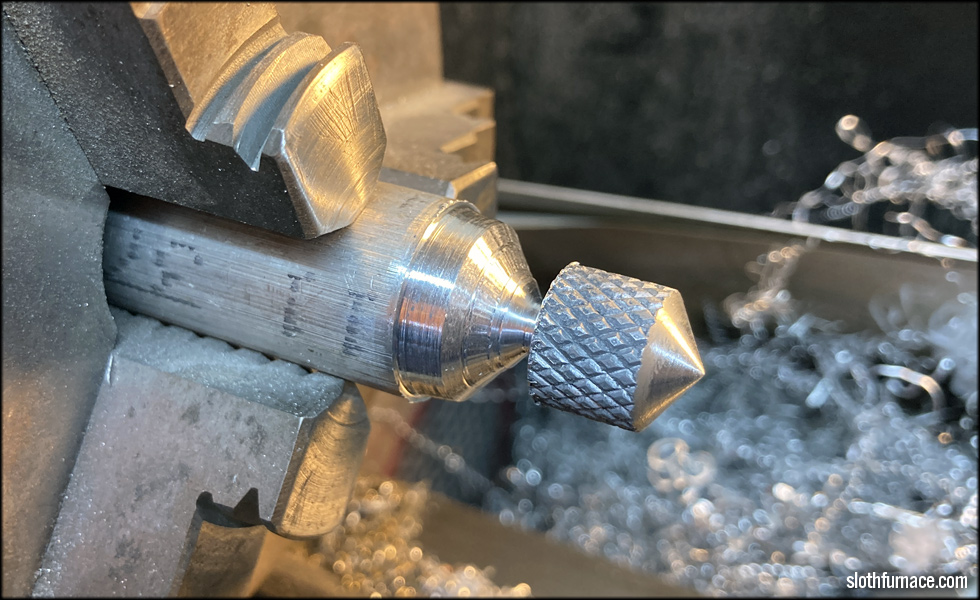
I finally decided on this method. To tape a grip down really, REALLY tightly to a piece of 1.5" diameter pipe, with two long brass rods alongside to keep the end being cut from flexing away from the boring bar too much.

I know this is probably the absolute wrong way to do something like this, but hey, I wasn't feeling great when I came up with this, and it ended up working anyway.

As you can see here, it worked reasonably well enough. I "bored" into all seven of the grips one at a time to a length of 3/4". Each time using fresh lengths of tape to secure the grip down before cutting it.

After I printed out a seven grip template, and spaced them best I could, and glued them in with E6000 adhesive, the moment of truth came when I went to unscrew the battery cap. It came out great, with just enough clearance on those end cuts to clear the diameter of the cap, and allow me to spin it on and off without touching the grips. You can see the clearance cut there in that photo, top grip shows just enough room to get the cap on.

Threading on the battery cap between the flash body and the grip cutouts. I'm quite satisfied with this setup now.
And no grip flare out at the battery cap. There's no additional clearance gap once the battery cap is on, so that part of each grip doesn't flex, and best of all each grip is straight as an arrow across the bottom end.
This site is part of the nonentity network. Not associated with LUCASFILM LTD.™ or any LFL Ltd.™ Film or Franchise.