This saber was again, made from a Graflex Flash gun in the original movie. The differences being six grips instead of seven, an extra red button where the glass eye was, switching out the bubble strip for a cut out section of computer card interface leads, and a Kobold flash based D ring assembly. More than one version of Luke's lightsaber existed for Empire, but we will be going with the more commonly seen V1.
This saber is going to be a lot easier to make than my New Hope graflex. I will make it so that both the ESB and ANH sabers can share the same internal chassis. I will most likely mount them both on a display with one having the expanded look with the chassis in it, and the other saber displayed closed, beneath it. I have many of the parts ready to go for this, the original Graflex flash gun, the Kobold replica D ring assembly, the 6 notched grip sections from Blast Tech, and an extra vintage Graflex red button assembly.

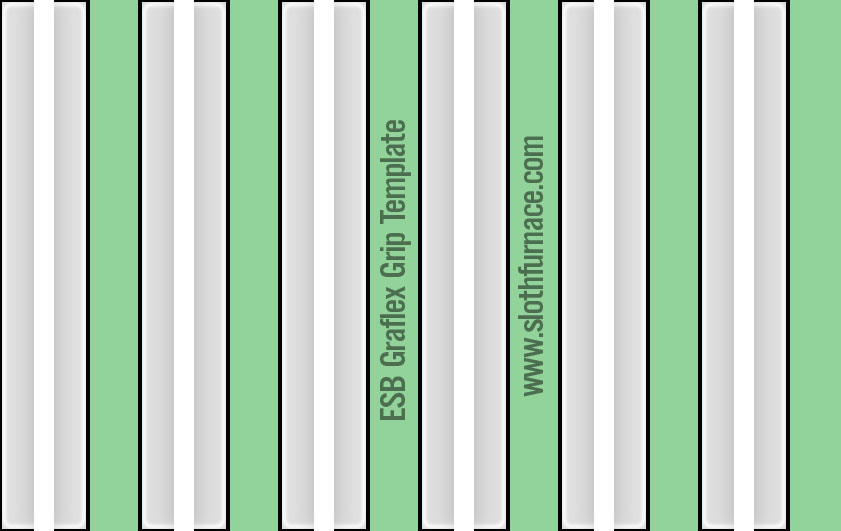
Since I had the parts for this, I thought I'd start with the grips. I made a grip alignment template in Photoshop...

Printed and cut it out. I wrapped it around the base handle and taped it to itself so I could slide it off. More on that later.
Here's the way I do it. This is my way, not the only way, but it's what works for me. Before you start, CLEAN the graflex handle with something like rubbing alcohol or degreaser. This is very important to get a good stick on the grips. Then be careful not to touch it after that. Then, align your template where it needs to be, and don't move it. I try to leave around a half inch above the template clear, so I have something to stick the back of the grips to. I peel the first little bit of the adhesive backing off the grip, and fold it to the side. This is important later.

Now I very carefully adhere the grip section that's exposed to the metal base, making sure my peeled section is accessible to one side, and that my grips are aligned to the template as accurately as possible.

Making sure that they are evenly spaced around AND up and down, and that my template hasn't moved, go ahead and attach the rest of the grips in that fashion. It will be very cumbersome, so you have to be careful.

Now the hard part. CAREFULLY slide the template down JUST past the ends of the grips, without rotating it. If you got your template on tight enough, it should smoothly slide down, and stay in place. Also, make sure you haven't accidentally stuck your grip sections TO the template, that's why you only peel a small bit of the adhesive backing off.

Now the fun part! Hold tightly with your thumb to the stuck section of grip, and with needlenose pliers, reach under the grip and grasp that folded piece of backing. Slide it carefully down away from your thumb, and with a finger (if you can) keep the grip from snapping to the graflex until you're ready to push it down.

Once you get the adhesive backing off, line your grip up with the lines on your template, and press down. You may have to lightly adhere it, look, reposition, etc, before you finally press it for good.

Once you have all your grips done this way, use opposing force on them to press them. Meaning, pinch each side of one grip with your thumbs, and each side of the opposite side's grip with your fingers, and press hard to secure the adhesive. Once done, slide your template off, and attach your clamp. I'll get into the screws that go into the notch a little later.

While I have my parts out, I thought I'd go ahead and remove the glass eye mount, and replace it with the extra red button from the other busted Graflex top I found on ebay. This is easy, the button just unhooks from the pull tab metal retainer, and the threading is the same, so it will screw right into the glass eye hole.
Like so. Next up, grip screws and the D ring mount.
This site is part of the nonentity network. Not associated with LUCASFILM LTD.™ or any LFL Ltd.™ Film or Franchise.

