
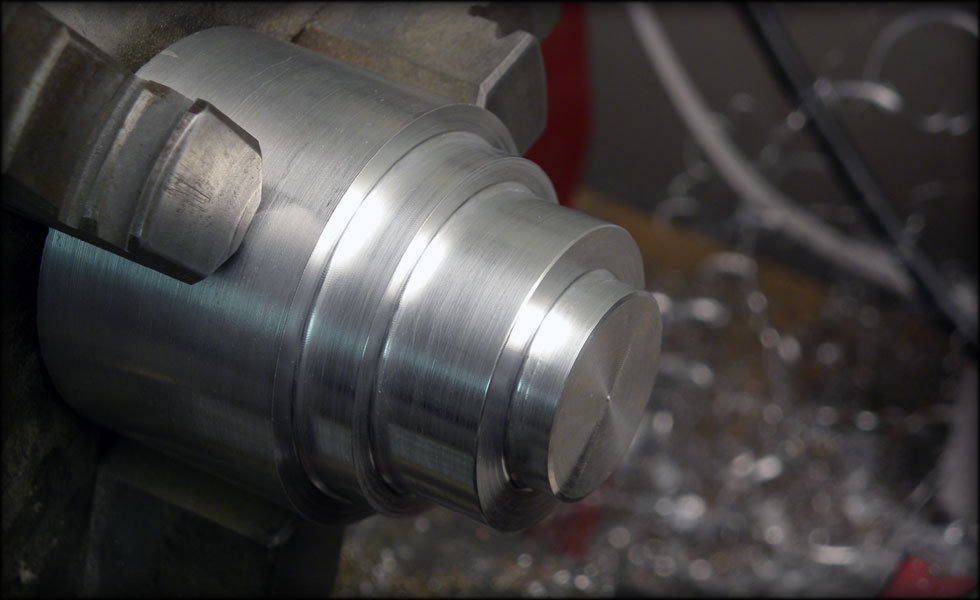
Tonight I spent a few hours machining part of the neck. This plug will fit into the forward grip, and be interchangeable between an emitter/neck with blade, and one without.
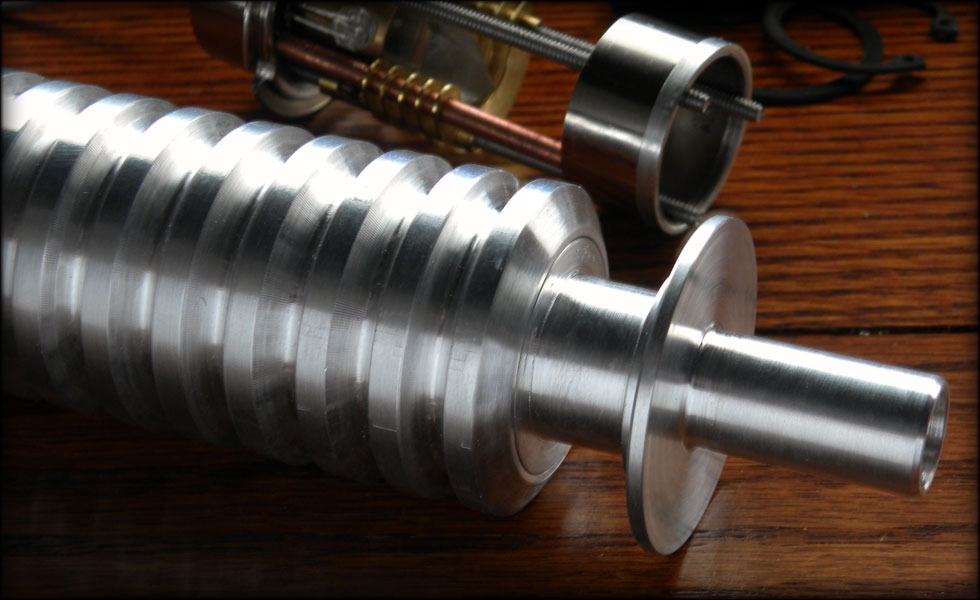
The slightly raised lip fits snug into a tiny bevel in the shoulder of the forward grip. A black setscrew will secure this, and be well hidden in the groove after it's painted.
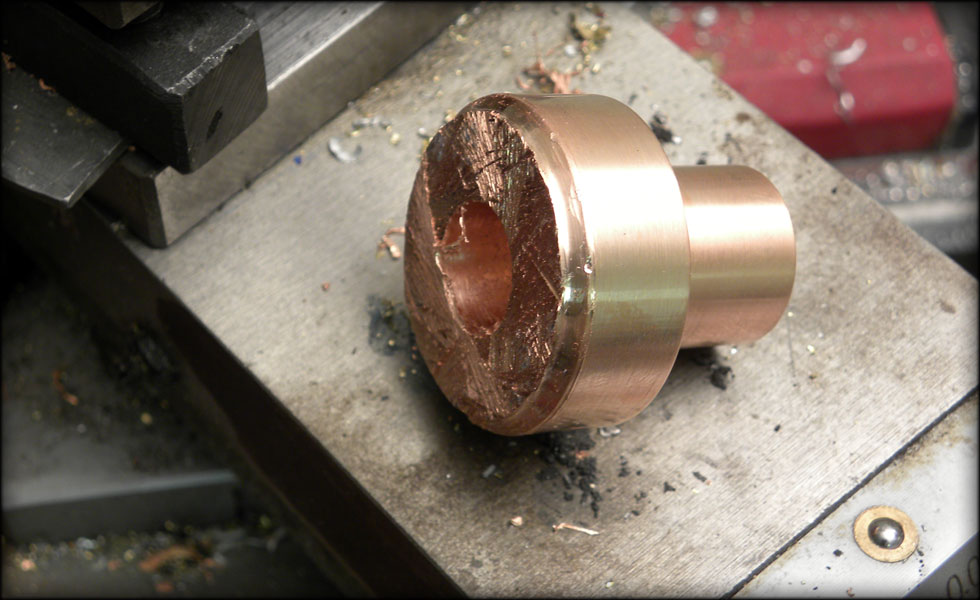
The copper collar that goes on the top section of the neck, I had to cut off with a hacksaw from the main stock, so I wasted as little copper as possible. Also, I hate this particular alloy of copper, as it's extremely difficult to machine. It work hardens pretty fast, and gets gummy.
After shaving off the hacksaw side, polishing and slipping it on to the neck
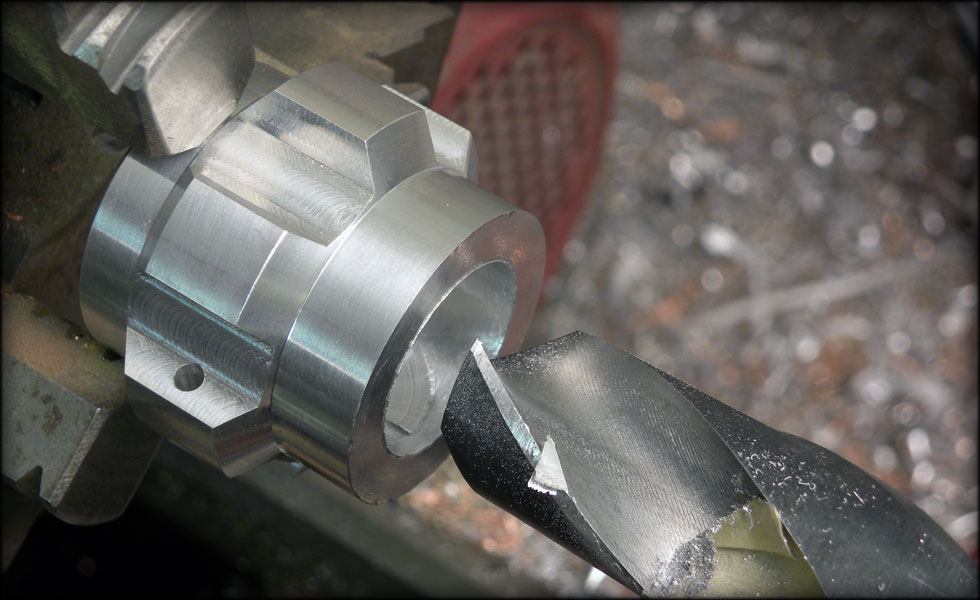
Now I need to hollow out the pommel for the speaker. To do this, I drilled a half inch pilot hole, then went in with my 7/8 bit. Slowly, because it's a bit dull, and it chatters some.
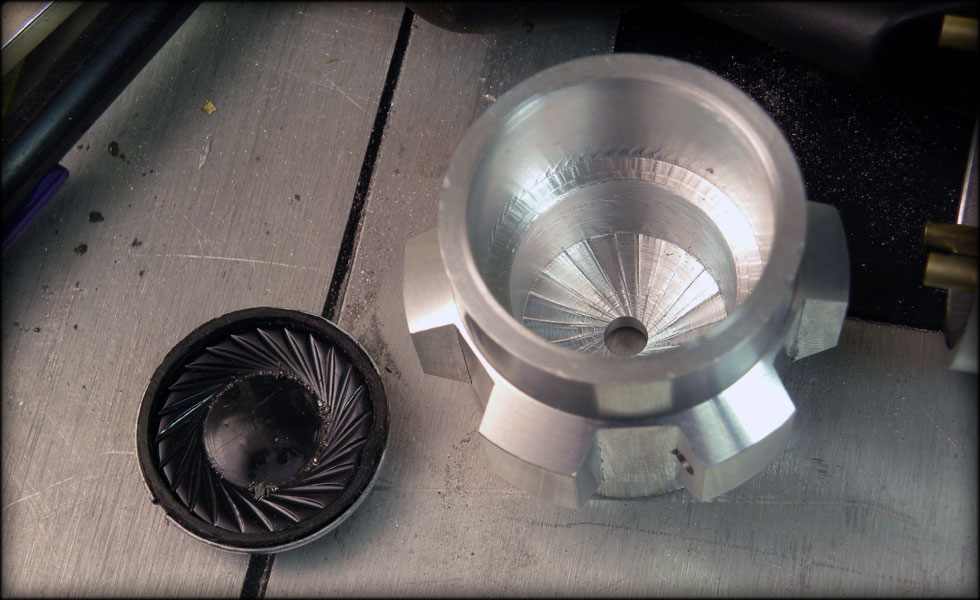
After boring out room for the speaker, the last bit of hollow section will be the resonance chamber. Hopefully it will sound ok, I can adjust a bit if I need to. Also, I drilled out the hole for the sound to escape.
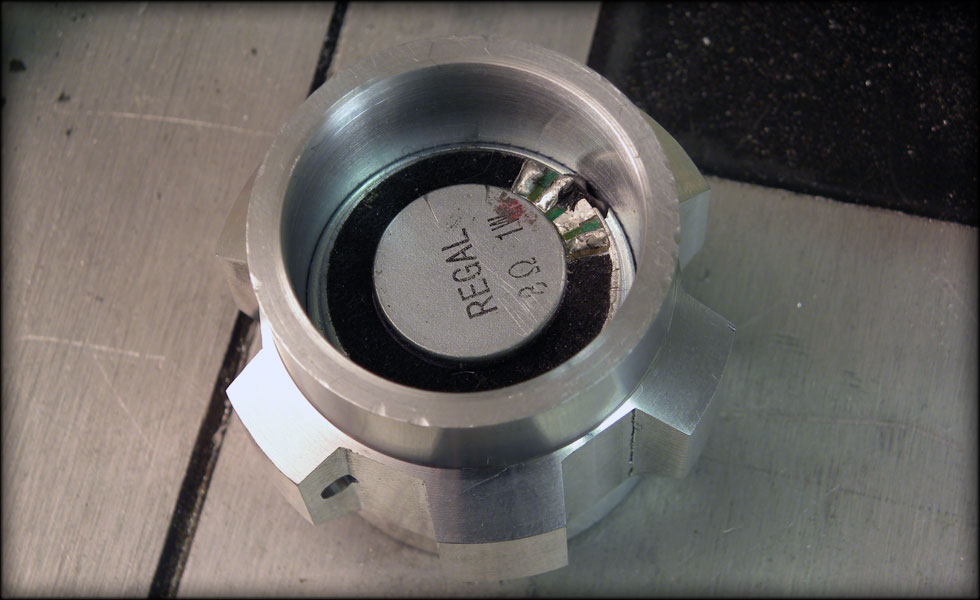
The speaker fits just fine. I'll machine a tube to go from the inside of the pommel, holding the speaker in, through into the inside of the main handle section. This will also serve as my base for the latch.

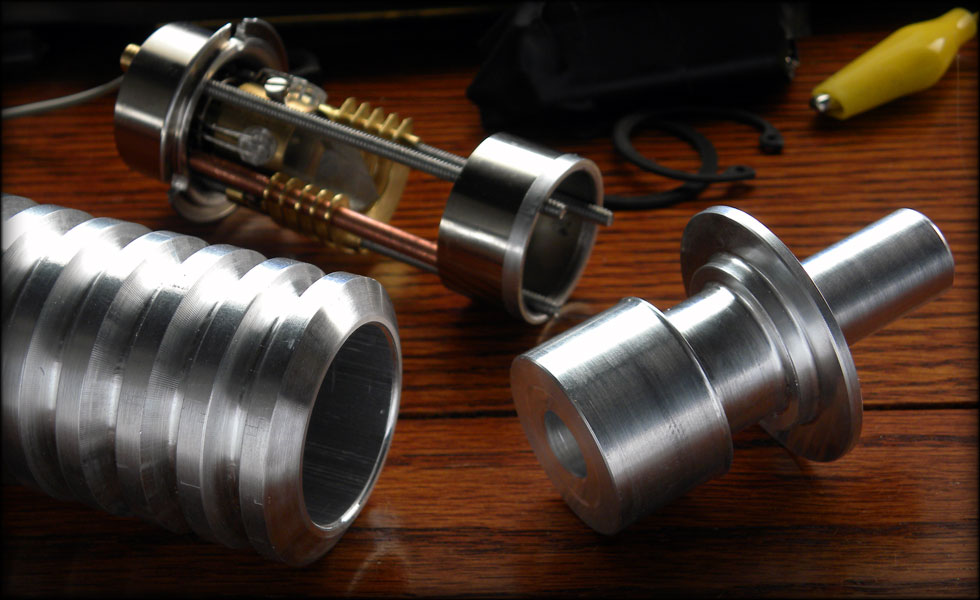
Here I am starting the emitter. I have a couple of emitters for reference, one from Rylo, one from the RPF, and I am sort of averaging those together for mine.
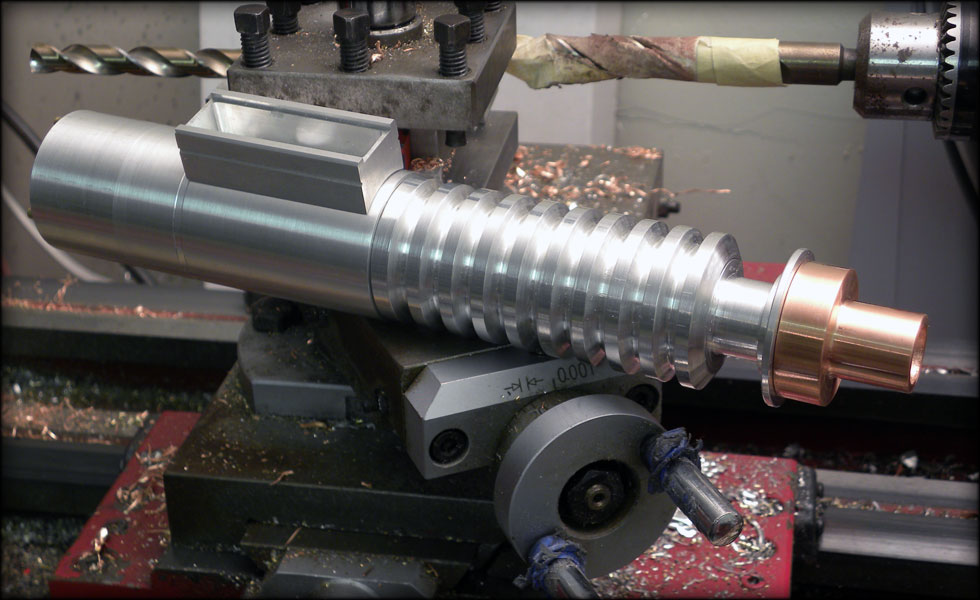
The bottom section machined, I'll drill this for a threaded 3/8 hollow rod, and flip it over to do the top section.
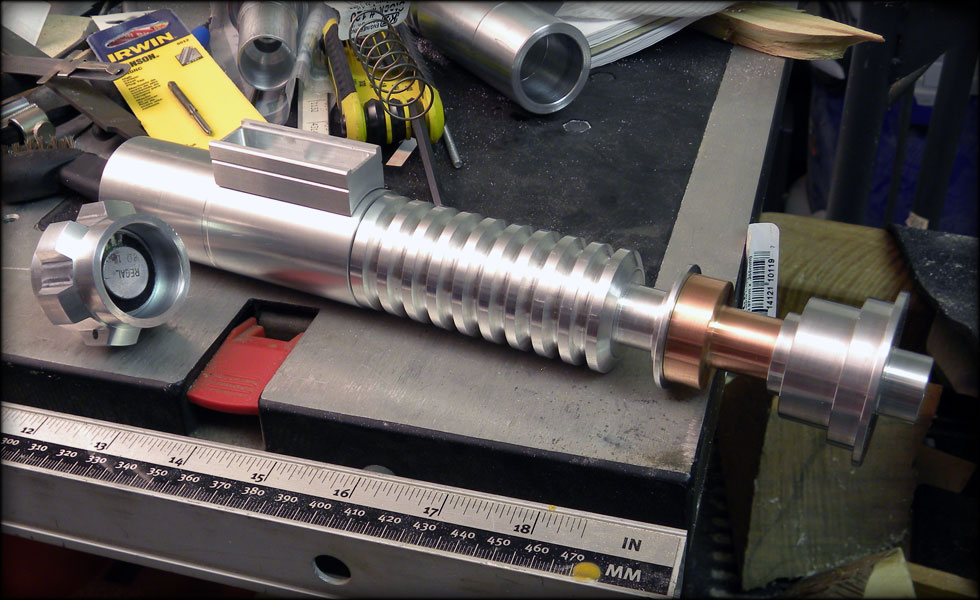
However, I couldn't resist putting the Rylo emitter on just for grins. It's really coming together!
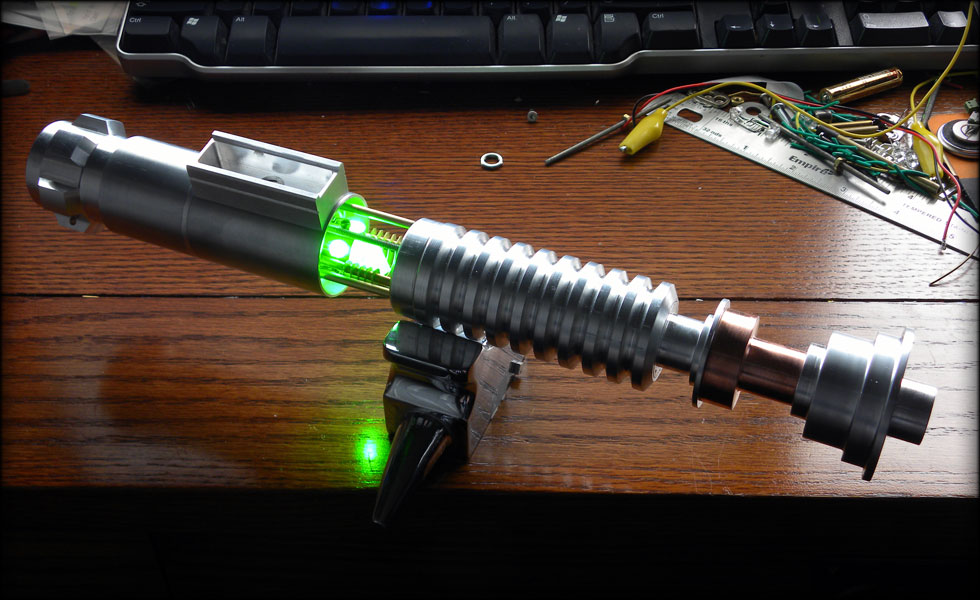
And here it is with my emitter, and the pommel, still have a lot to do...
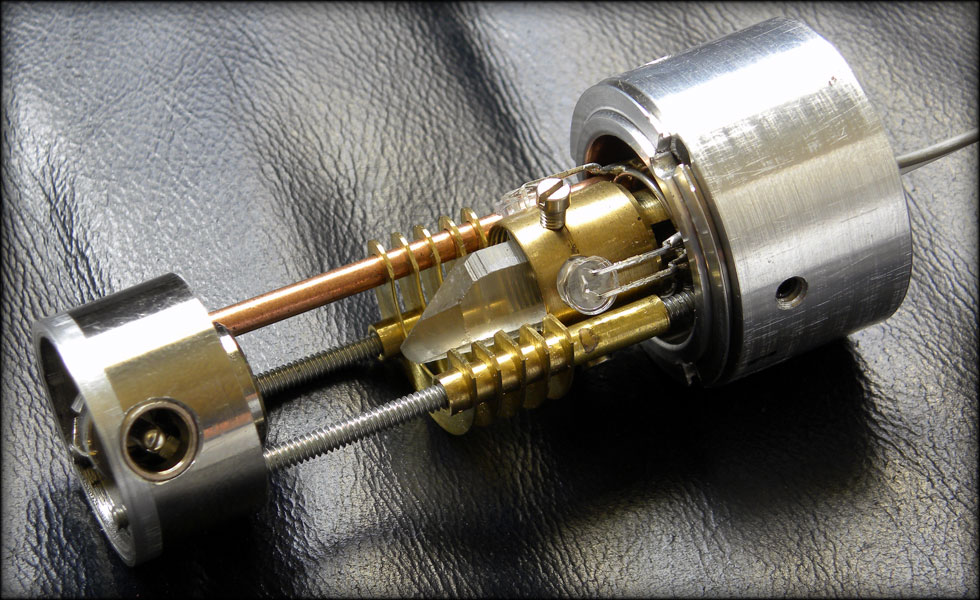
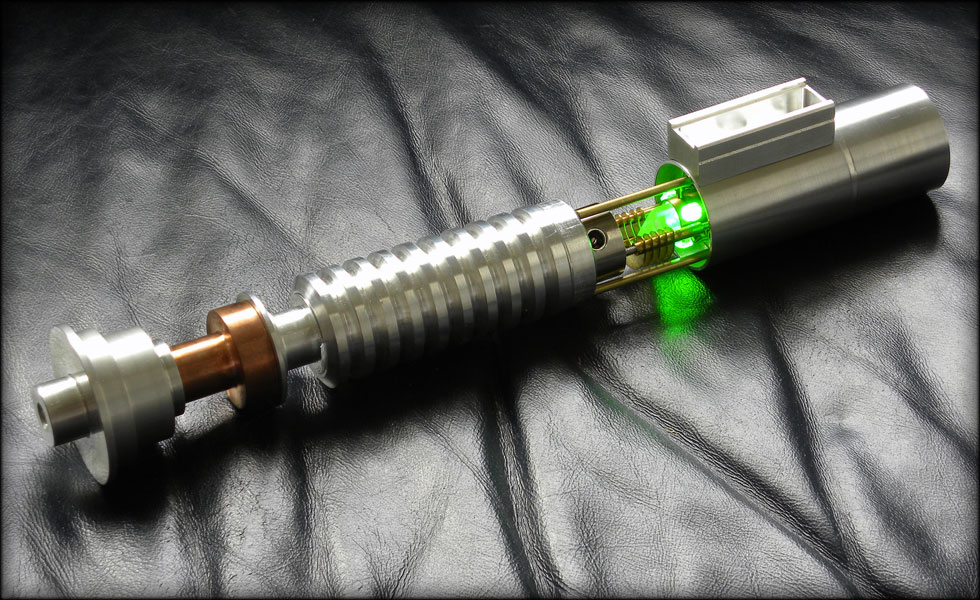
Set the recharge port today in the chamber top, and put three setscrews in to secure the harddrive motor case that is the base of my crystal chamber. That outer cylinder with the setscrews fits inside the main handle, and lets the rods go through to open and close the chamber.
This is the only place I could think to install the recharge port. Once the chamber is open, you'll be able to plug it in to charge the saber. I will probably shorten the chamber a bit, depending on how much length on my support rods I end up with.
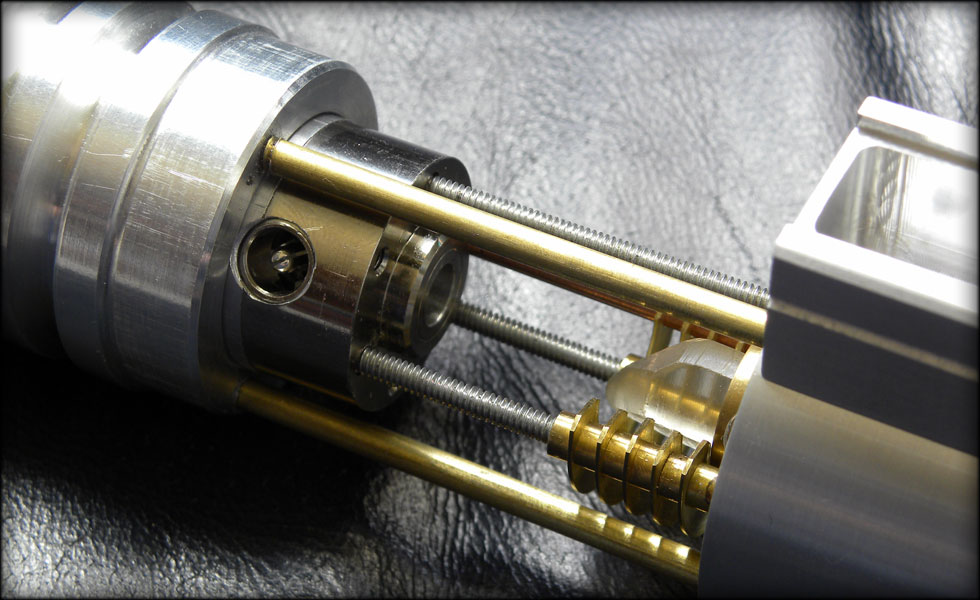
Here's the shortened chamber, with recharge port. I just have one more wiring conduit to install.
This site is part of the nonentity network. Not associated with LUCASFILM LTD.™ or any LFL Ltd.™ Film or Franchise.