
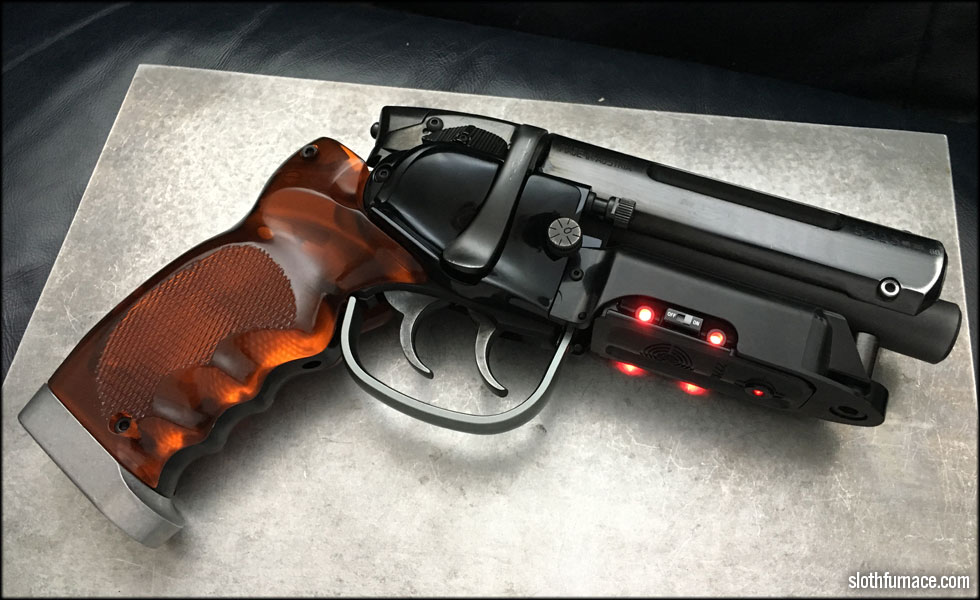
Finished weathering with vintage EE-8 WW2 field radio binding post, vintage Weaver scope knob...
...steel barrel and steel Charter Arms Bulldog 44sp cylinder.

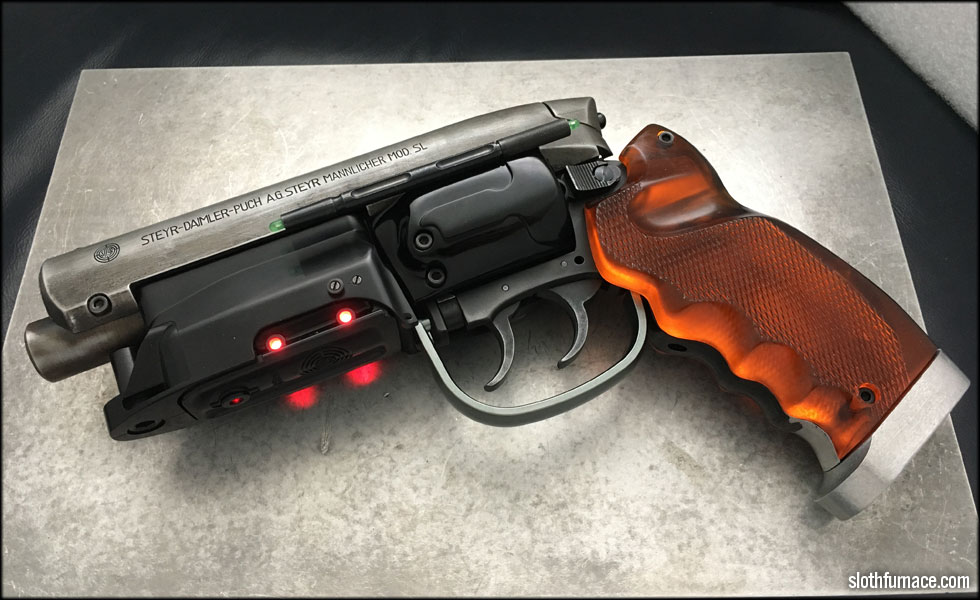
This is a special project for me, that almost wasn't a project. At the 2019 North Texas Prop Party, I acquired this Tomenosuke Pro Bladerunner blaster from our host, Philip Wise. I had just remarked how I'd love to build one, but probably wouldn't ever, as the parts are hard to come by. Philip had an extra, and I came away with this beautiful prop. Many, many thanks to Philip.
At first, I didn't want to touch it, it was pristine, new in box, and one of the nicest prop blasters I'd ever owned. After a bit of research, however, I decided to weather it slightly, as the whole thing had a bit of a plastic look, and didn't resemble the screen used prop finish wise.
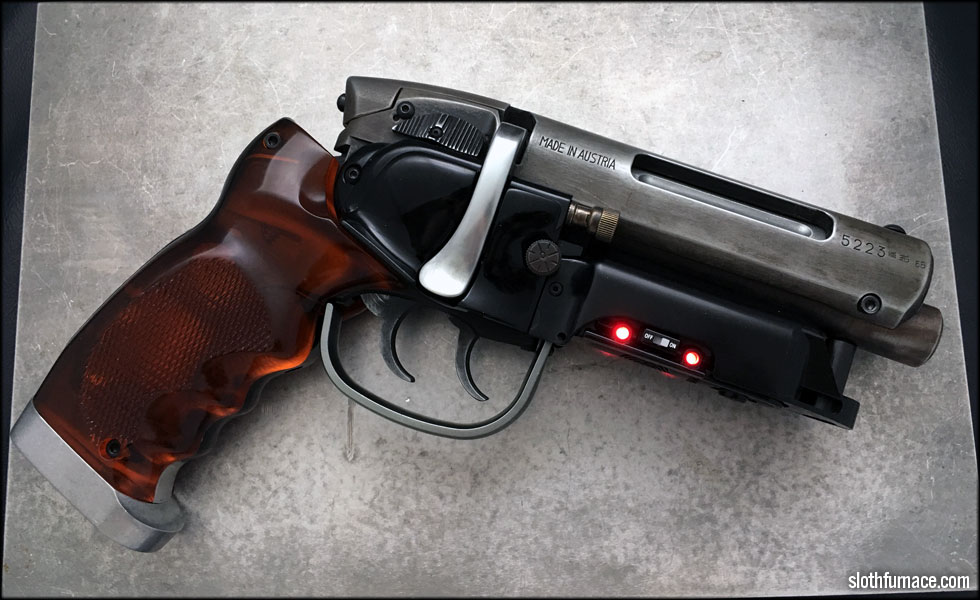
A slight amount of weathering on the trigger and the Steyr receiver, and I began to dig around on the internet for examples of other Tomenosuke blasters that had been either converted for electronics, or weathered, or upgraded. I found several examples of great work online, and decided to delve into upgrading this one as much as I dared. I was very hesitant, as this prop isn't easy to come by, and there are no spare parts available.

One of the first results I came across for upgrades on this blaster was a steel barrel upgrade. This was the first part I picked up for the blaster.
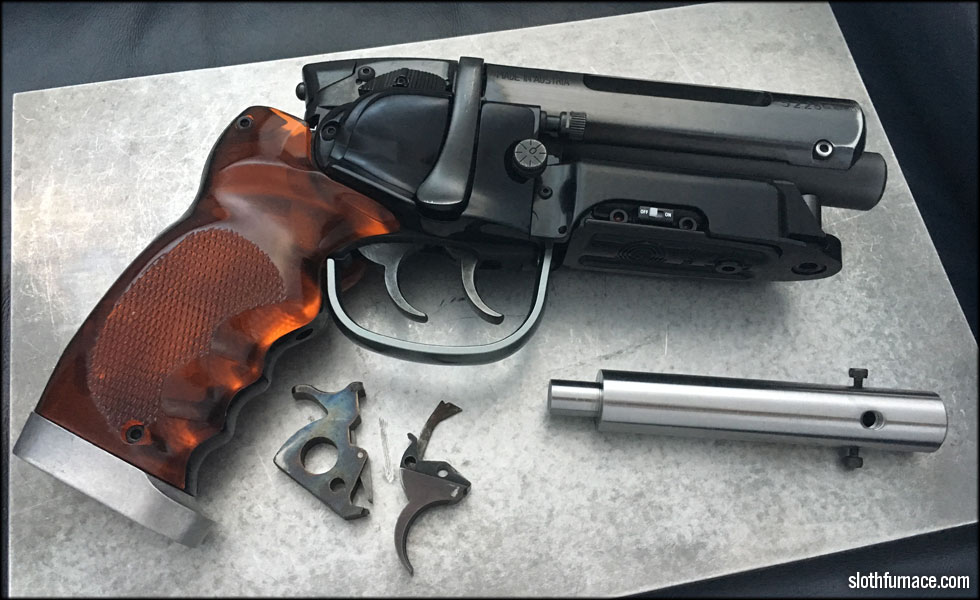
I also picked up an original Charter Arms bulldog 44 sp. trigger and hammer, which I plan to eventually install and remove the metal/resin originals.

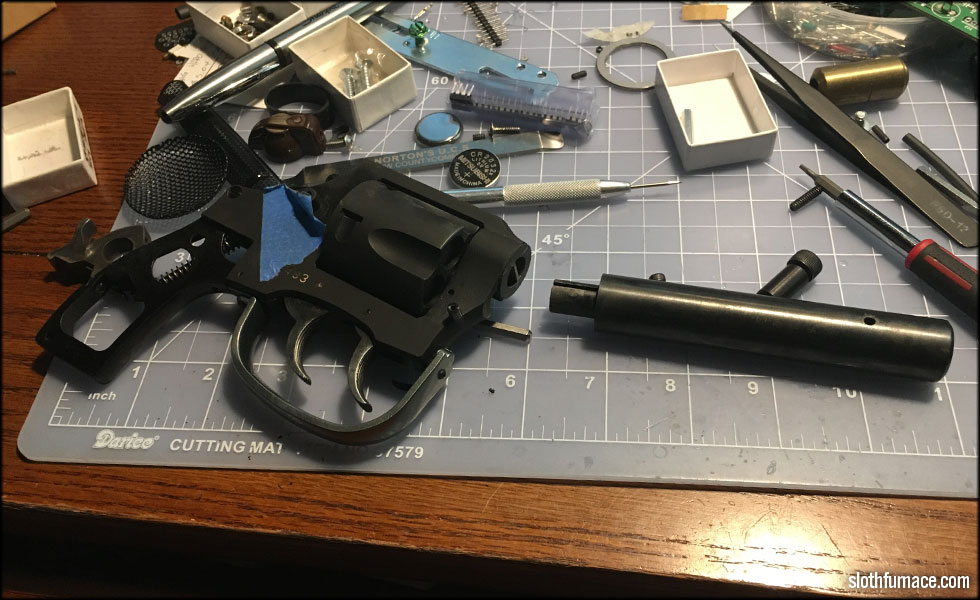
First things first, disassembly. I found the cause of a slight rattle that I noticed when I first picked up the blaster, an extra screw bouncing around inside the grip cavity. Then I separated everything out carefully and noted what part / screw went where.
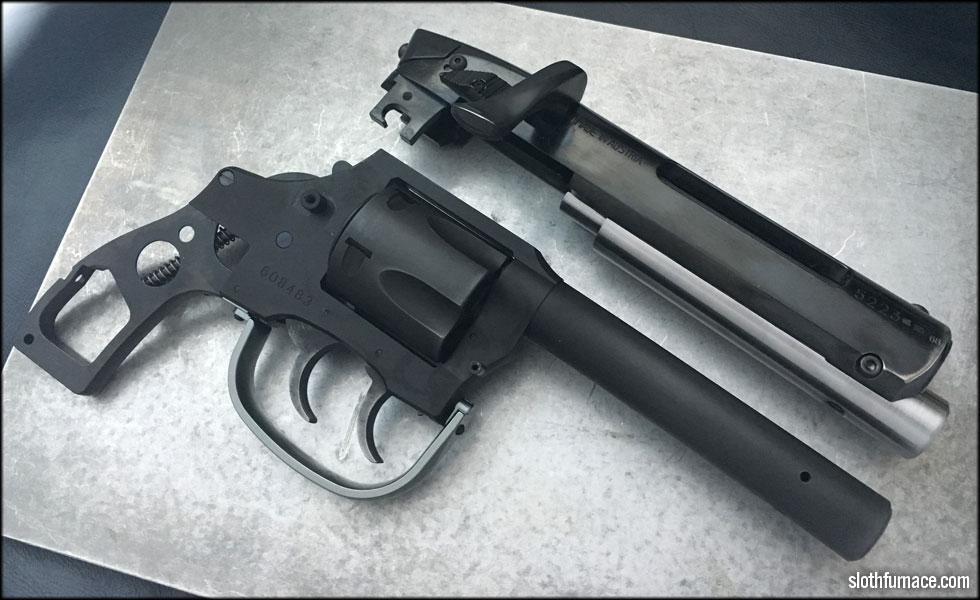
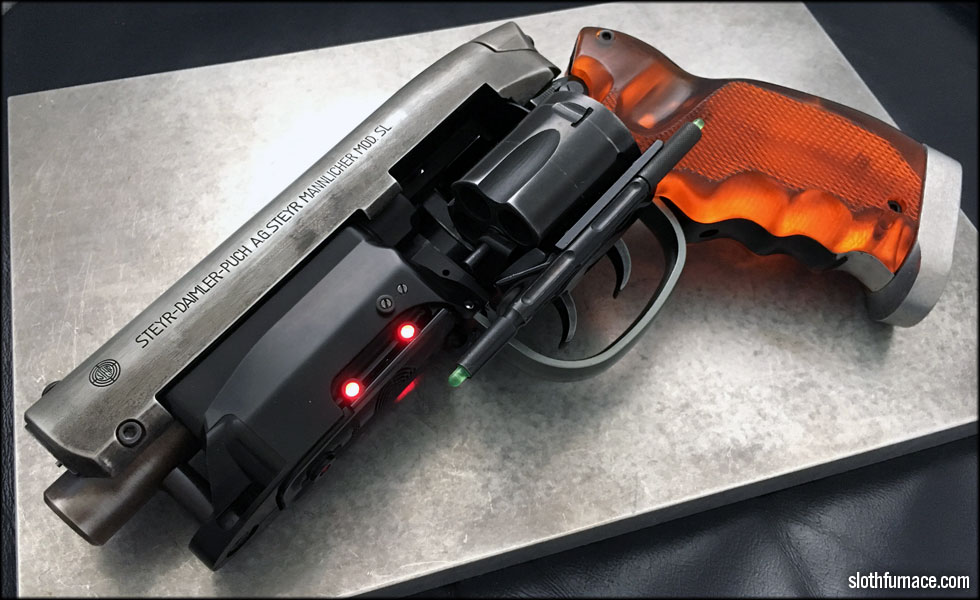
The steel barrel here is test fit into the Steyr receiver. Fit is beautifully snug and about perfect.
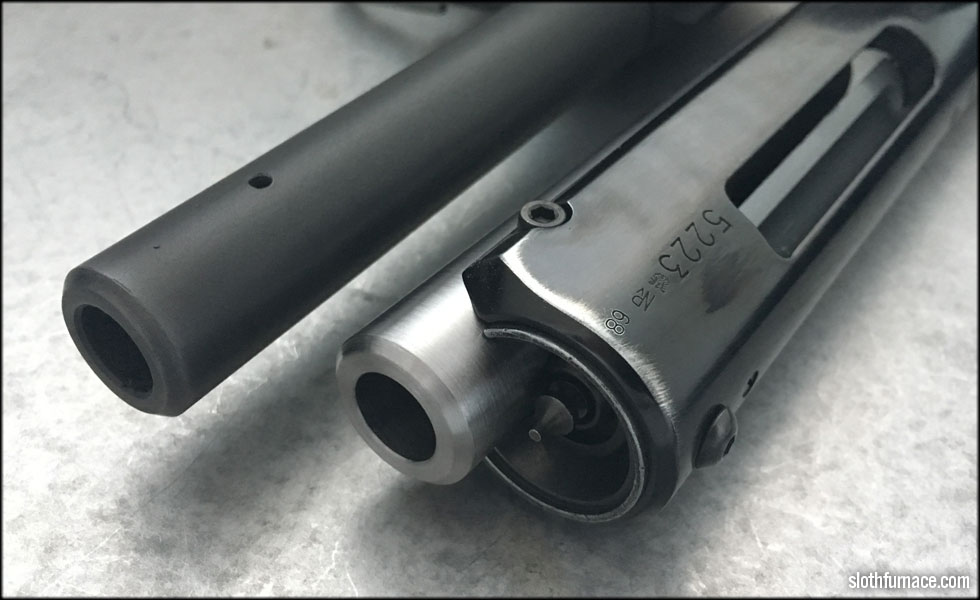
I do love the look of the steel barrel. It has a machined / turned finish that can't be achieved in the resin original.
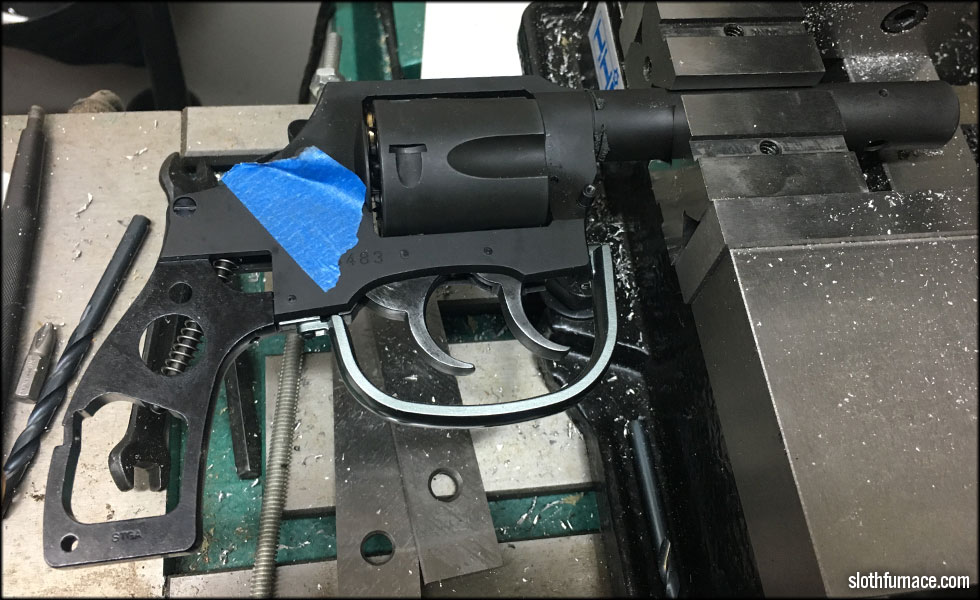
And here is the point of no return. If I mess this up, I've ruined a very special thing. So I go carefully. I first begin the barrel cut well away from the receiver, on the bandsaw, but hit the metal insert in the core of the barrel. So I transition over to the milling machine vise and finish the job with a hacksaw. Again, very, very carefully. The blue tape is to keep the hammer pivot pin from falling out as I work.
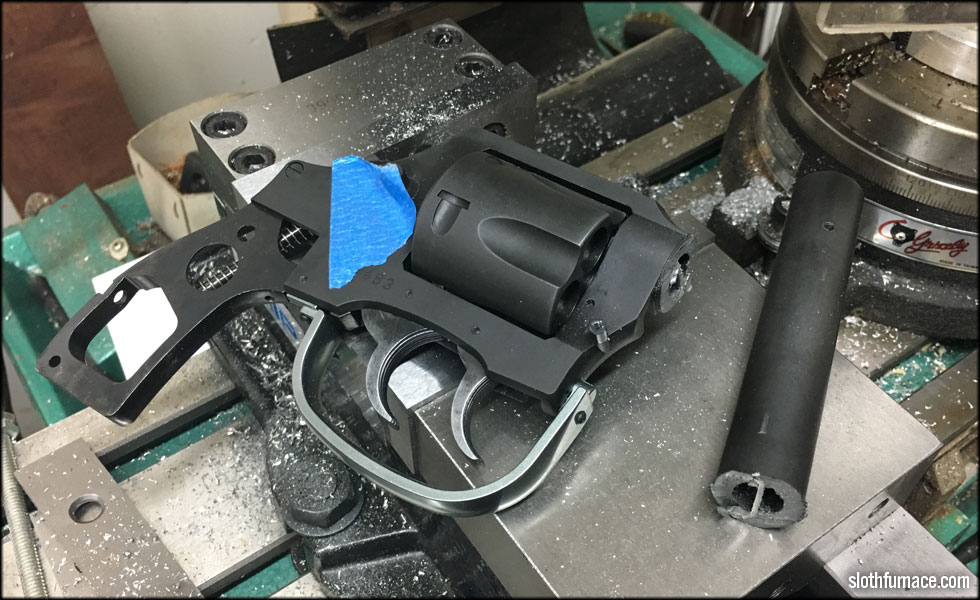
Barrel removed! That was nerve wracking to say the least. Now I have to clean up the receiver end on the belt sander, and make sure that surface is clean and square.
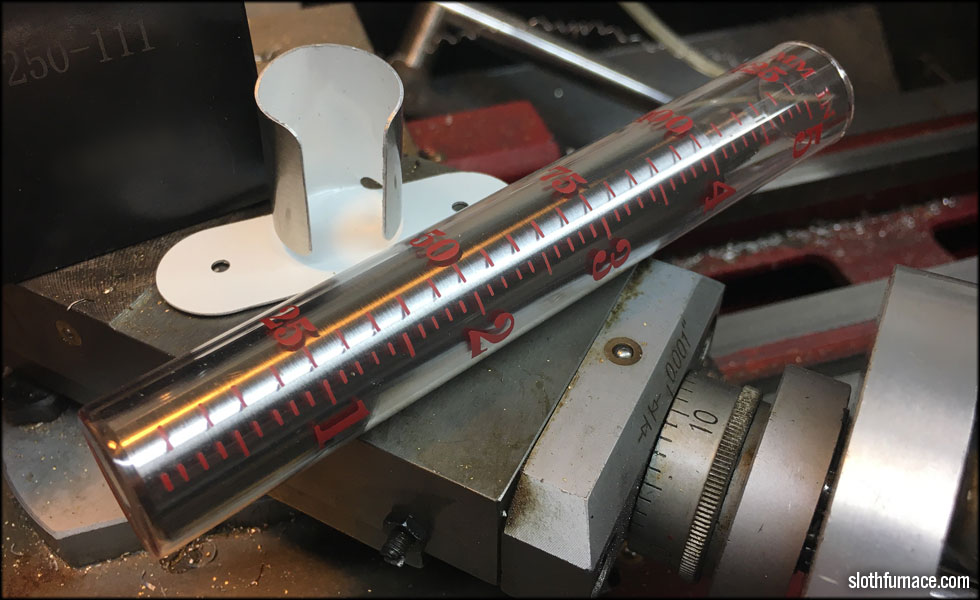
While I am out here in the garage, I clean and prep the steel barrel for some cold bluing via Birchwood Casey Super Blue. My rain gauge is just the right size to fit the barrel while it's being blued.
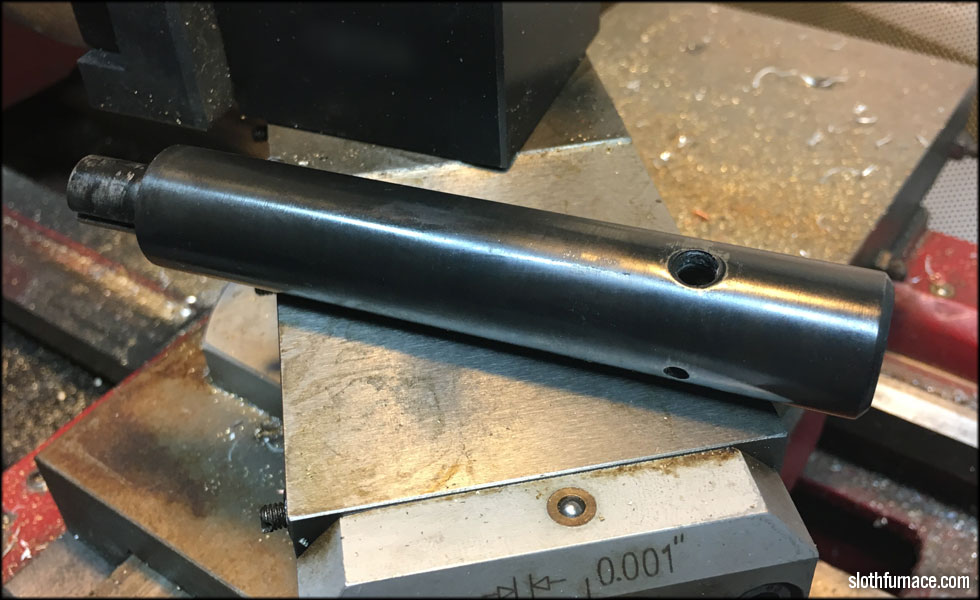
Bluing done, excess cleaned off and oiled, I am pretty happy with the result. I may want to peel a touch of that surface black off when I am done with everything to more accurately match the screen used prop as it appears in the World Con photos.
The metal insert in the receiver fits into the groove in the steel barrel replacement. It's a snug fit, and mates well.
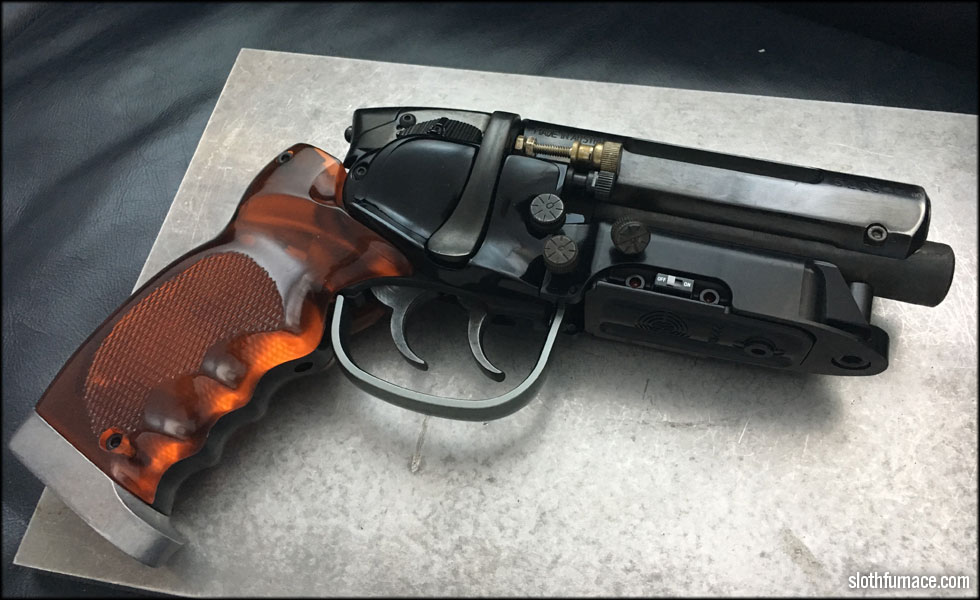
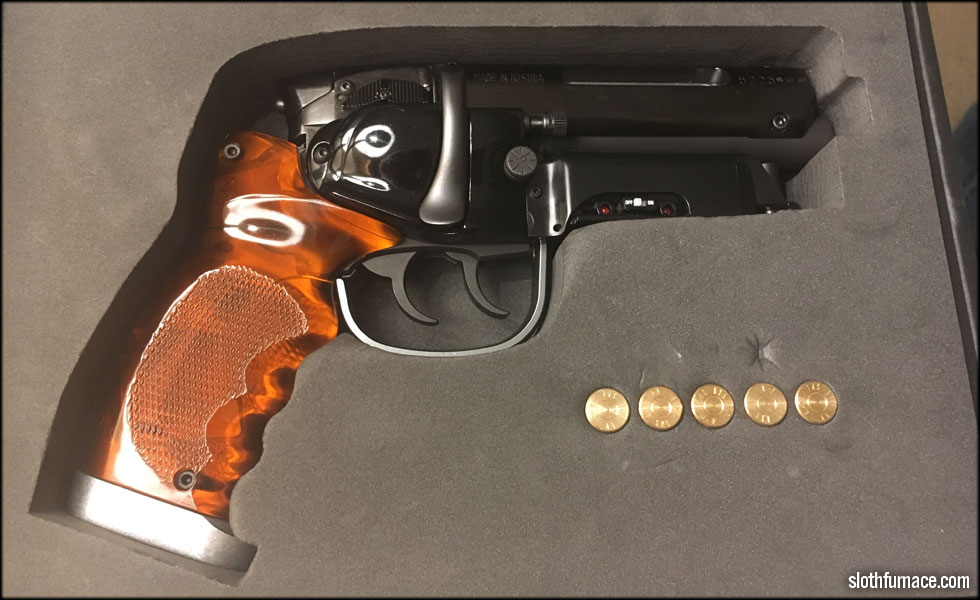
This is the blaster re-assembled with the steel barrel. I also in the meantime found and bought a beat up vintage Weaver scope for the correct scope knob, to replace the slightly inaccurate resin original part. I also found a correct WW2 era field radio binding post for that part replacement.
This site is part of the nonentity network. Not associated with LUCASFILM LTD.™ or any LFL Ltd.™ Film or Franchise.