
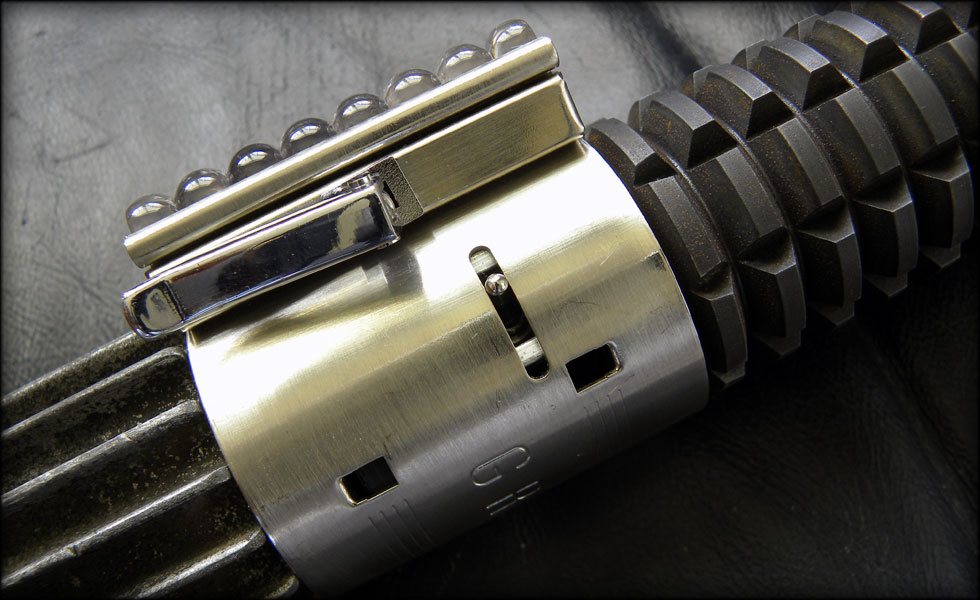
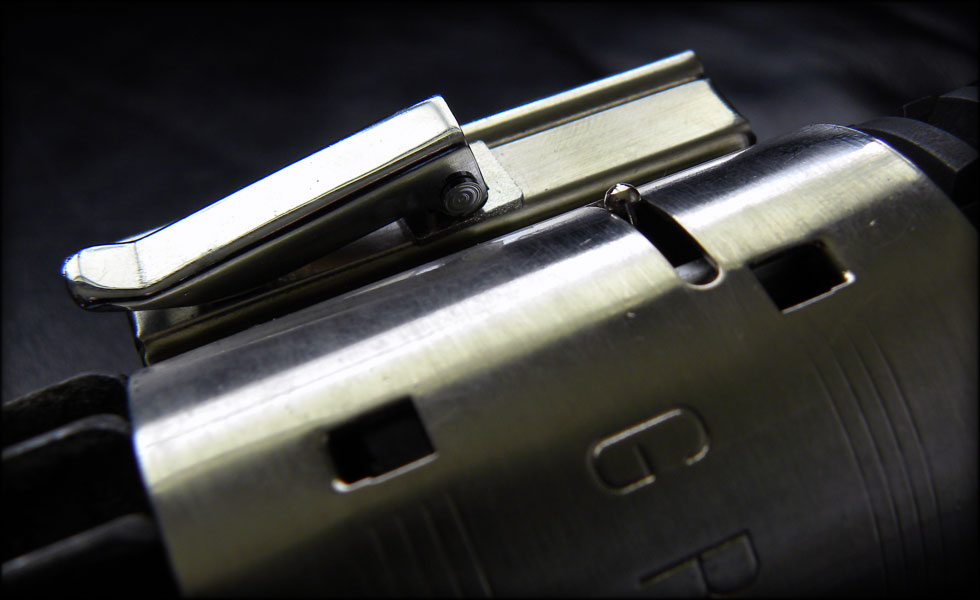
It's installed! Can you see it? It's hiding in the vertical slot in the graflex clamp. I found a tiny metal toggle switch in my parts bin that fit that slot perfectly. I just had to come up with a way to offset it inside the saber so that its arc of movement would be as close to the curvature of the graflex clamp as possible, while still giving me enough to work with to turn it on and off.
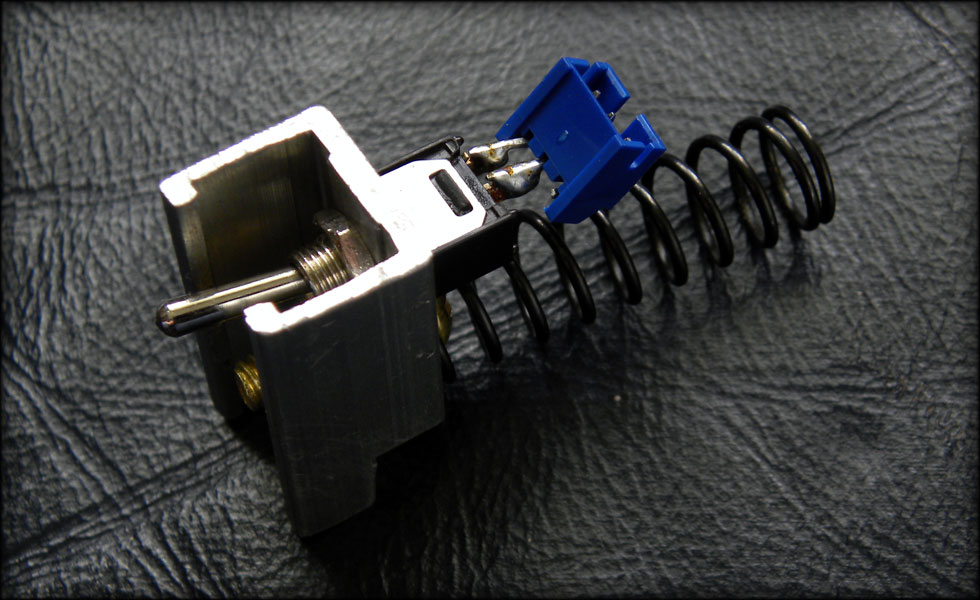
To do that I raided my parts bin again, and while looking for a round piece of tubing I could mount it to, I ran across this section of shelf track. Turns out, it was the perfect distance of offset, and then all I had to do was cut it to fit inside the speaker section and grenade clamp once it was all assembled.
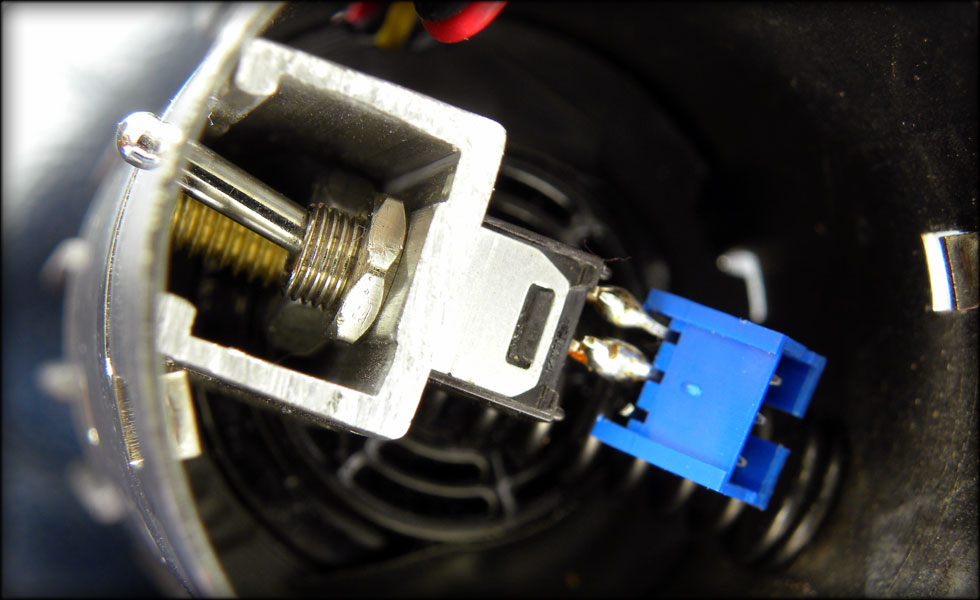
The task of keeping it pushed up against the wall of the clamp was accomplished via a large spring set on a screw tied into the shelf track section.

I also had to solder a plug onto the switch so I could easily remove it for maintenance. One more trip to the parts bin yielded a three prong blue plug, which is adequate.
I suppose the next step is to think about a volume control for the speaker, and some way to get a rechargeable battery setup. The temporary AAA rig I have in there is already beginning to lose power.
I only have room enough for 3 AAAs in the booster section. Believe me, I wish I had more room, but this project is putting my cram-fu to the test.
I think I will incorporate a custom machined volume knob and recharge port where the transistors are. And possibly machine the knob and the recharge port plug to match the contour and diameter of the transistors that were used in this saber.

And here's where the extra battery gets hidden! Last night, I got the rechargeable batteries and charger in the mail, soldered up my battery pack, three in the hilt, one in the grenade tube, and fired it up to see if it worked..
Yes indeedy, it works fine! Next step is to hide the recharge port in there, and a couple minor cosmetic things, and I think she's done!
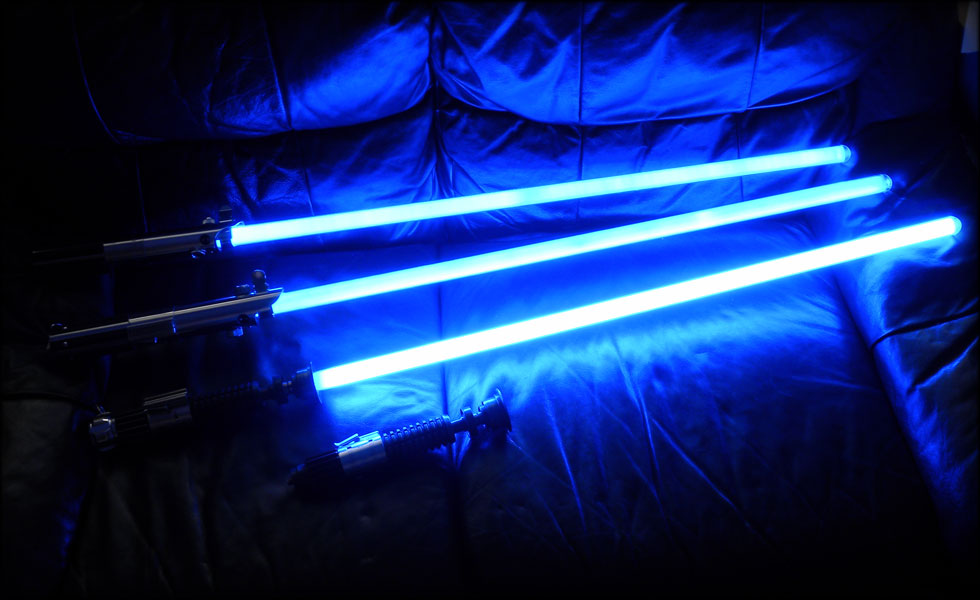
It's SO MUCH BRIGHTER than a stock MR ForceFX. I am very pleased.
I am also going to wedge a rumble pak in there. I found a pager motor in my parts bin that works well without causing interference or static in the speaker.
After having the saber complete for a while, I was worried that I had a weak spot in the battery casing, as it was made of plastic, and I needed to move the speaker a bit further back to account for my recharge port, I decided to make a new battery casing from aluminum.

I was able to set the batteries a bit further back, as well as the speaker, which gave me enough room to put the recharge port where the rear transistor is usually located.
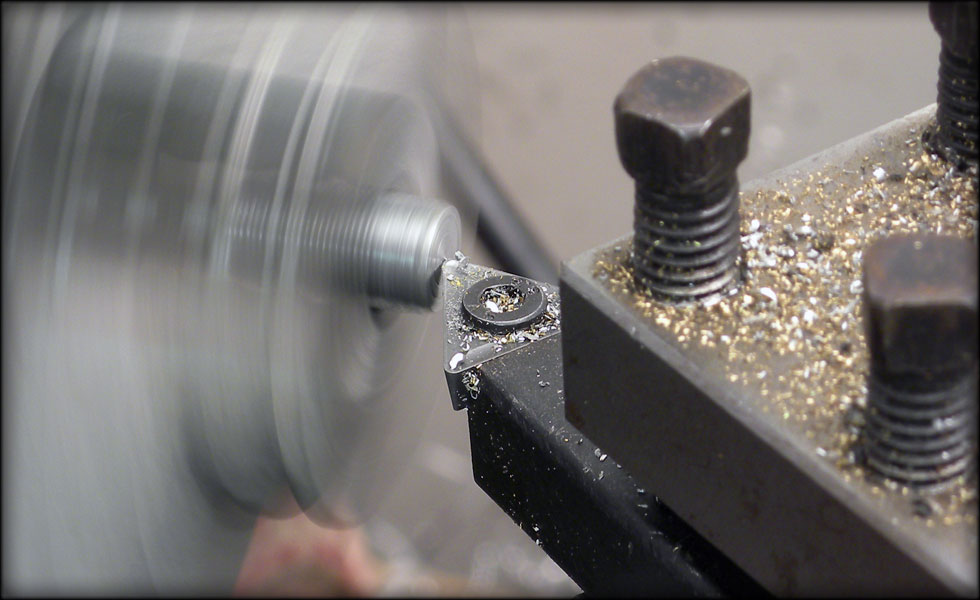
Here's the cut down of the pommel to battery case threaded rod.
This site is part of the nonentity network. Not associated with LUCASFILM LTD.™ or any LFL Ltd.™ Film or Franchise.