
This saber was begun shortly after I finished my New Hope Obi illuminated saber. To begin with, I picked up a cheaply priced Graflex 2 cell on ebay, and proceeded to make it into a 3 cell. The original prop from Star Wars: A New Hope was a Graflex Flash gun. Used in the 30's and 40's to fire off the flash bulbs in certain cameras. The prop makers on the set of Episode IV glued grips to the body and inserted a bubble strip from a Texas Instruments Exactra 20 calculator into the flash clamp.
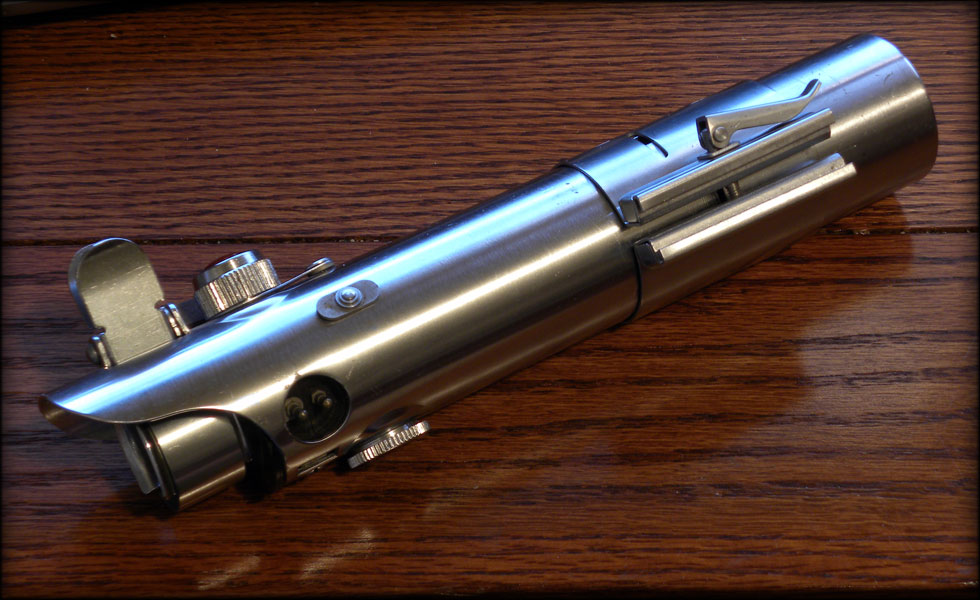
Unfortunately, I couldn't find anywhere that offered 3 cell back ends, so I decided to make my own out of some scrap capped 1.5 inch stock I had in the bin.
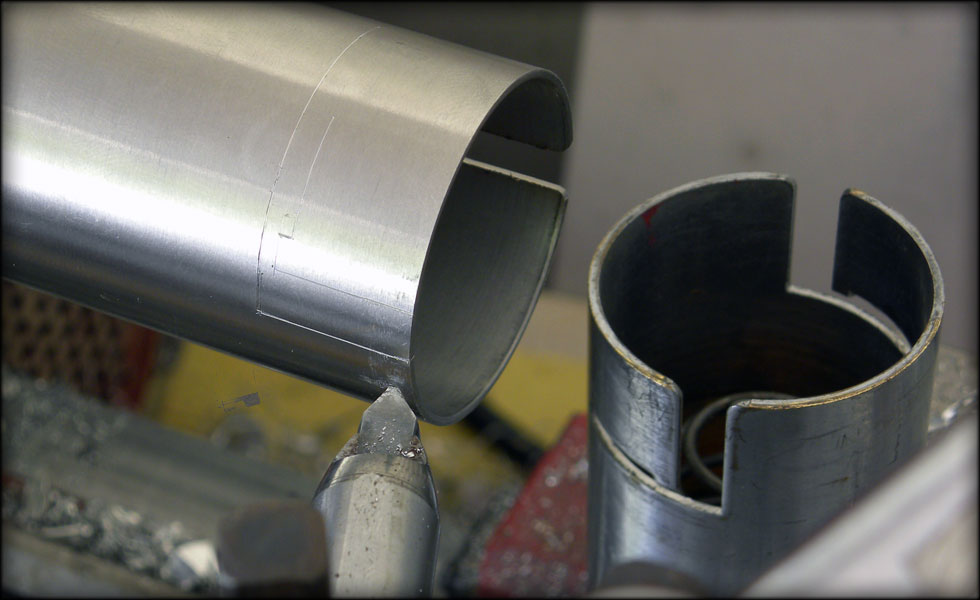
I used my lathe to etch the pattern for the tab slots so I could get them even and straight.
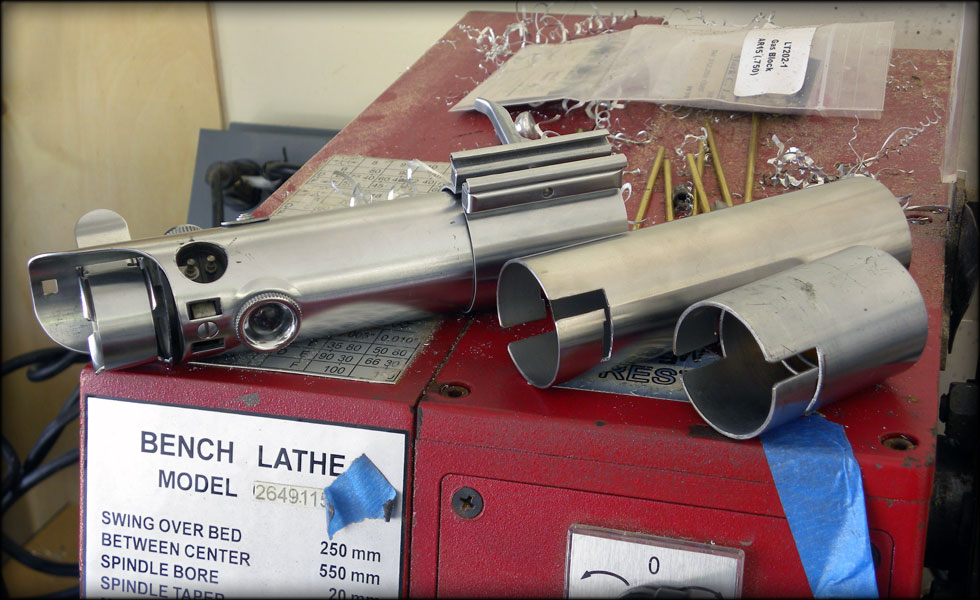
After removing the material with my dremel, it fits just as snug as the original two cell back.

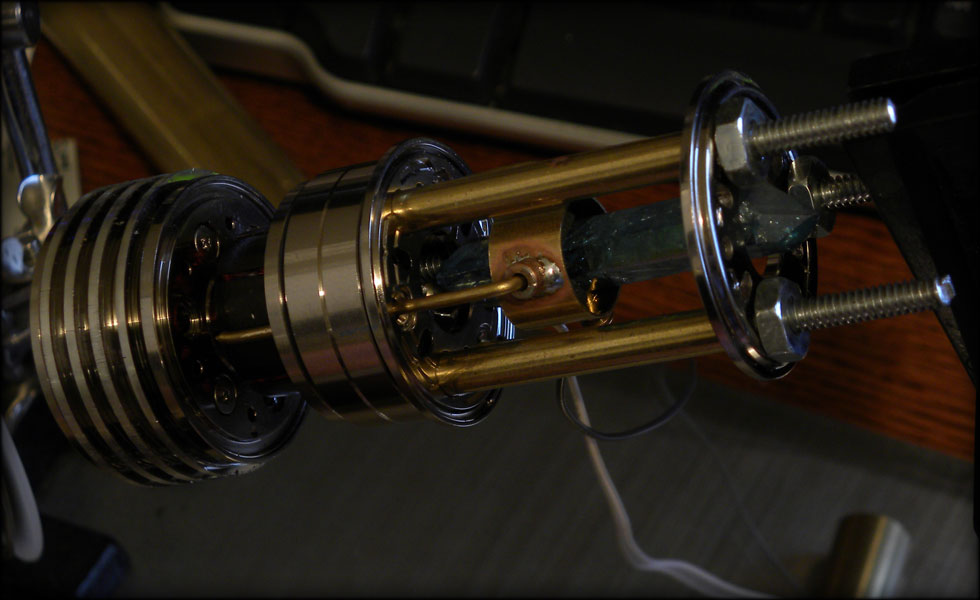
Next I thought about a crystal chamber. With much inspiration from those who have gone before me, I set off on my own direction, harvesting many parts from harddrives, old clocks, etc.

I took one entire array of harddrive platters and lathed them down to fit inside the graflex rear. At this point, I have the ... middle decided on more or less, and I will be constructing from there out to either end. I want to make sure I leave enough room in the design for soundboard, speaker, batteries, etc.
The crystal chamber is made of various parts, the most intricate so far is the crystal holder, made of brass tubing, guitar string beads, some brass stock from an old clock, etc.
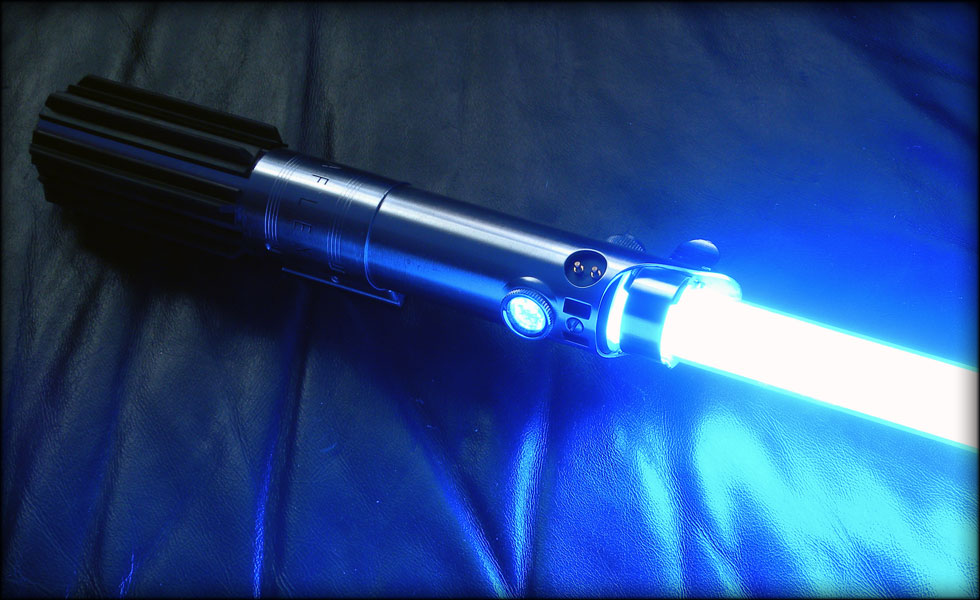
Here is my Aqua Aura double terminated crystal, a very nice blue without lighting, but with...
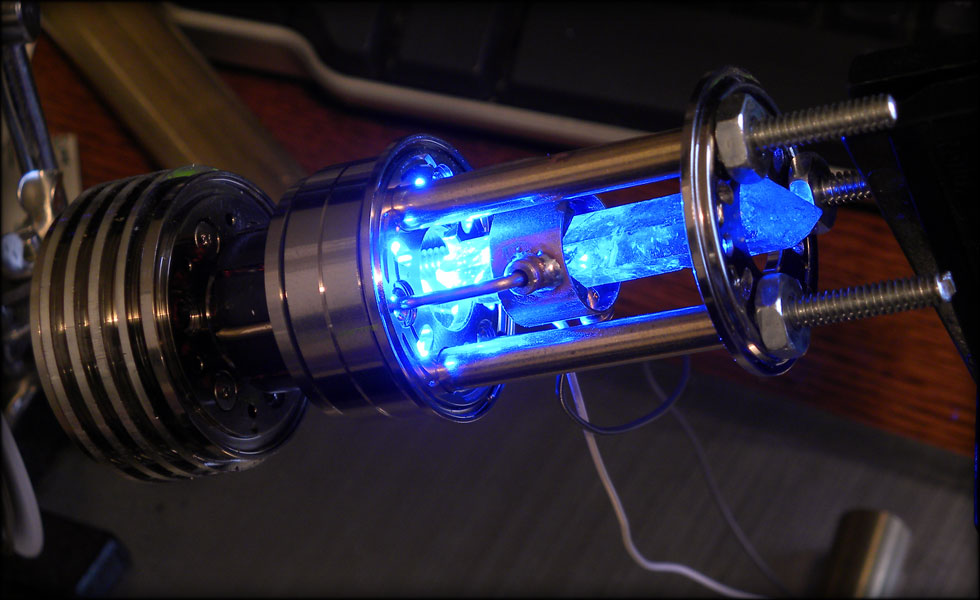
...it really shines!

And here's an update. I present to you my radiator section! Some of you may know I was looking for some brass sheet, and I found 3/4 by 1 foot sections at my local hobby shop. I cut two of these down to sort of 2 inch sections, and drilled through a stack of them in a pattern that fit my three main frame posts. Here is my first rig, that didn't work too well on the belt sander, as it wasn't quite easy to hold, and therefore dangerous.
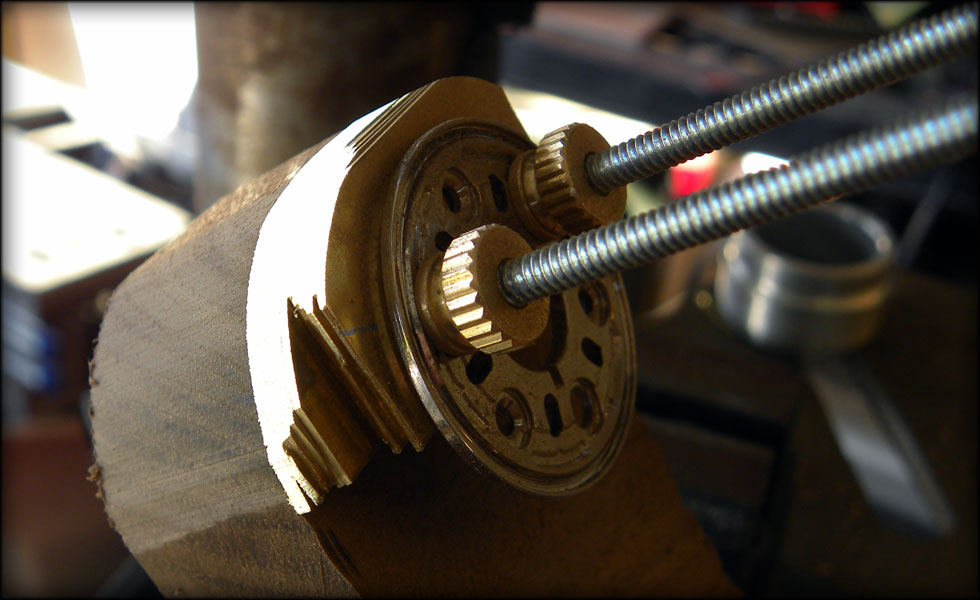
Here you see my better rig, bolted to a piece of scrap walnut, this lets me shave the brass down on the belt sander without bending anything near the bottom of the stack.
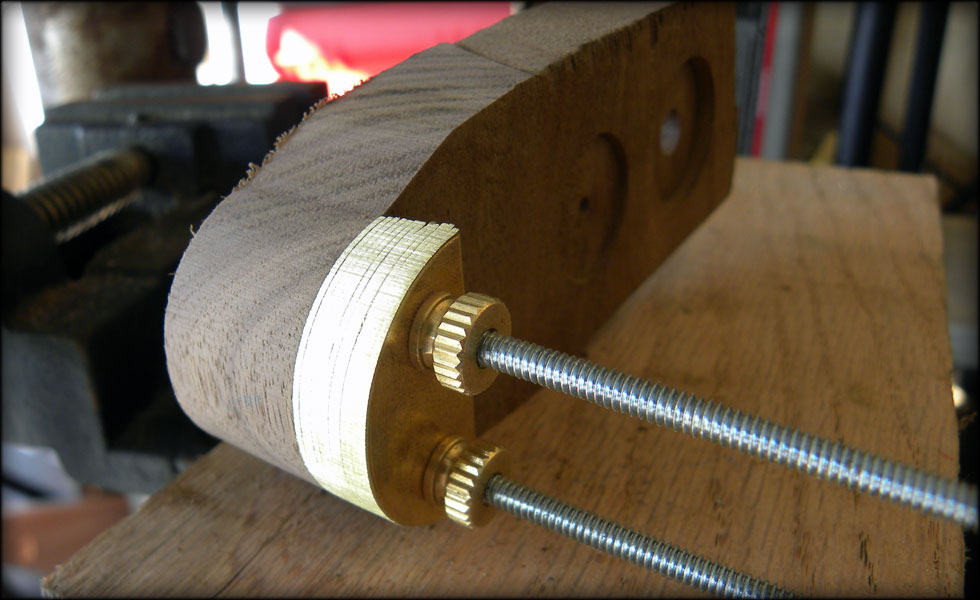
Here I have the stack pretty much shaped, I removed the harddrive platter retainer as I got closer to the shape I wanted, so as not to scuff it up.
This site is part of the nonentity network. Not associated with LUCASFILM LTD.™ or any LFL Ltd.™ Film or Franchise.